Richmond homeowners usually ask the same question right after tile goes in. “When can we walk on it?” The short answer is that how long does tile take to dry depends on which part of the assembly you mean, because the tile itself is not really the issue. The thinset underneath and the grout between the joints are what need time.
That distinction matters. A floor can look finished and even feel dry on the surface while still being weak underneath. In floor installation, that is where expensive mistakes start. The same principle applies whether you are dealing with tile, floor installation Richmond projects, or even hardwood floor refinishing in Richmond VA. Good-looking floors last when the materials underneath are allowed to do their job.
Introduction More Than Just Waiting for Tile to Dry
A brand-new tile floor can fool people. It looks solid, the joints are filled, and the room suddenly feels usable again. That is exactly when homeowners are tempted to start walking through, slide appliances back in, or let kids and pets back on the floor.
The problem is that surface dry and fully cured are not the same thing. One source notes that tile adhesives can feel dry within hours while still remaining structurally weak underneath, and foot traffic on incompletely cured floors can create movement that leads to squeaks, gaps, or separation (commomy.com). That is the part many quick online answers miss.
In practice, the drying timeline comes in stages:
- Thinset cure first: The adhesive under the tile needs time before grouting.
- Grout cure second: The joints need their own cure time before regular use.
- Sealer last: If the grout needs sealing, that comes after cure, not before.

For homeowners in Richmond VA, humidity makes this even more important. A floor installed during a sticky summer week may need more patience than one installed during a mild fall stretch. Rushing the timeline does not save time if it creates a loose tile, cracked grout, or a callback later.
Practical takeaway: If a floor only feels dry, treat it as unfinished until the adhesive and grout have cured.
That patient approach is familiar in every good flooring trade. It is the same mindset behind dustless sanding, wood floor recoating, and careful hardwood floor repair. The finish is only as good as the curing behind it.
The Foundation How Long Thinset Mortar Needs to Cure
Set tile in the morning and it may look firm by dinner. That does not mean the bond underneath is ready for grout, foot traffic, or furniture. Thinset is the layer doing the structural work, and if it gets disturbed before it has cured, the problems usually show up later.
Thinset mortar generally needs at least 24 hours before grouting, and in slower conditions 48 hours is the safer call. In Richmond, I tell homeowners to pay attention to the longer end of that range during humid weather, especially with porcelain tile over a dense subfloor.

Thinset is gaining strength below the surface
Thinset does not air-dry like paint. It cures through a cement reaction, which means the surface can look dry while the mortar underneath is still building strength.
That difference matters. Surface dry only means the top no longer looks wet. Cured means the mortar has hardened enough to hold the tile in place without movement. Homeowners often get tripped up right there because the floor can appear finished before it is ready.
A fresh thinset bed works more like concrete than a coating. Early on, the bond is still vulnerable to small shifts that you may not even notice while walking across the room.
What rushing the schedule usually causes
The failure pattern is familiar on repair calls. A tile gets bumped or walked on too soon. The mortar bond breaks slightly. Then the grout locks that small movement into the floor, and a few weeks or months later someone notices a hollow sound, a loose edge, or cracked joints.
The common results are straightforward:
- Loose or hollow-sounding tiles
- Cracked grout joints
- Bond loss between tile and subfloor
- Corners that lift under traffic
Those failures are expensive because the fix is rarely just touching up one joint. Once the bond is compromised, repair often means removing tile and starting that area over.
Richmond conditions can stretch the timeline
Humidity slows the process. So do cool rooms, limited airflow, large-format porcelain, and substrates that do not absorb much moisture. A small powder room with decent ventilation may stay close to the basic timeline. A kitchen during a sticky Richmond summer often will not.
I would rather have a homeowner wait one extra day than pay for a reset later.
If the room feels damp, the house is not conditioned yet, or the installer used a thicker mortar bed to correct minor floor variation, treat 24 hours as a minimum, not a promise. Read the mortar manufacturer's instructions for that specific product and build your schedule around the site conditions, not the best-case number on the internet.
The Finishing Touch Grout Drying and Curing Timelines
A lot of homeowners in Richmond hit the same moment. The tile looks finished, the grout has changed color, and the room feels close enough to ready. That is usually when people get into trouble.
Grout can look dry on top well before it has hardened through the joint. Surface dry and fully cured are not the same thing, especially in a humid house.

What the grout timeline means
For standard cement-based grout, many installers use a general window of about 24 to 72 hours before light use, but that range only works if the room conditions cooperate. In Richmond, they often do not. Summer humidity, limited airflow, and bathrooms that hold moisture can all slow the process.
What matters to a homeowner is the difference between appearance and strength.
| Stage | What it means | What you should do |
|---|---|---|
| Surface dry | The top of the joint no longer looks wet and may feel firm | Keep feet, pets, and cleaning tools off it |
| Early hardening | The grout is setting up below the surface but is still vulnerable | Limit traffic and avoid reinstalling fixtures |
| Functional cure | The joint has gained enough strength for light normal use | Follow the product directions and installer guidance |
That middle period is where rushed jobs get damaged. I see it after someone walks in with damp shoes, slides a trash can across the floor, or resets a toilet because the grout "looked done."
Different grout products follow different schedules
Cementitious grout is still the standard in many homes. It does the job well, but it needs time to dry and cure properly. Epoxy grout and some premixed products have different instructions, and some are less affected by moisture in the air, but none of them should be treated like they are ready the minute the haze is wiped off.
Always go by the exact product on the floor. Bagged grout, premixed grout, and epoxy systems do not all behave the same way.
That same scheduling mindset applies in other flooring work too. A floor can look finished before it is ready for real use, which is also true with hardwood floor acclimation time before installation. Good results come from respecting the material, not the clock on a phone.
When you can clean, walk on, or put the room back together
Gentle cleanup usually starts before full cure, but heavy use should wait. Homeowners often cause avoidable damage during this stage by scrubbing joints too hard, bringing appliances back too early, or trapping moisture under rugs and mats.
Use this as the safe approach:
- Let the grout firm up before any cleanup beyond the installer's first wipe.
- Keep foot traffic light until the stated cure window has passed.
- Wait to move furniture, appliances, toilets, and vanities back until the grout has enough strength to handle the load.
- Hold off on routine mopping until the grout is cured, not just dry on the surface.
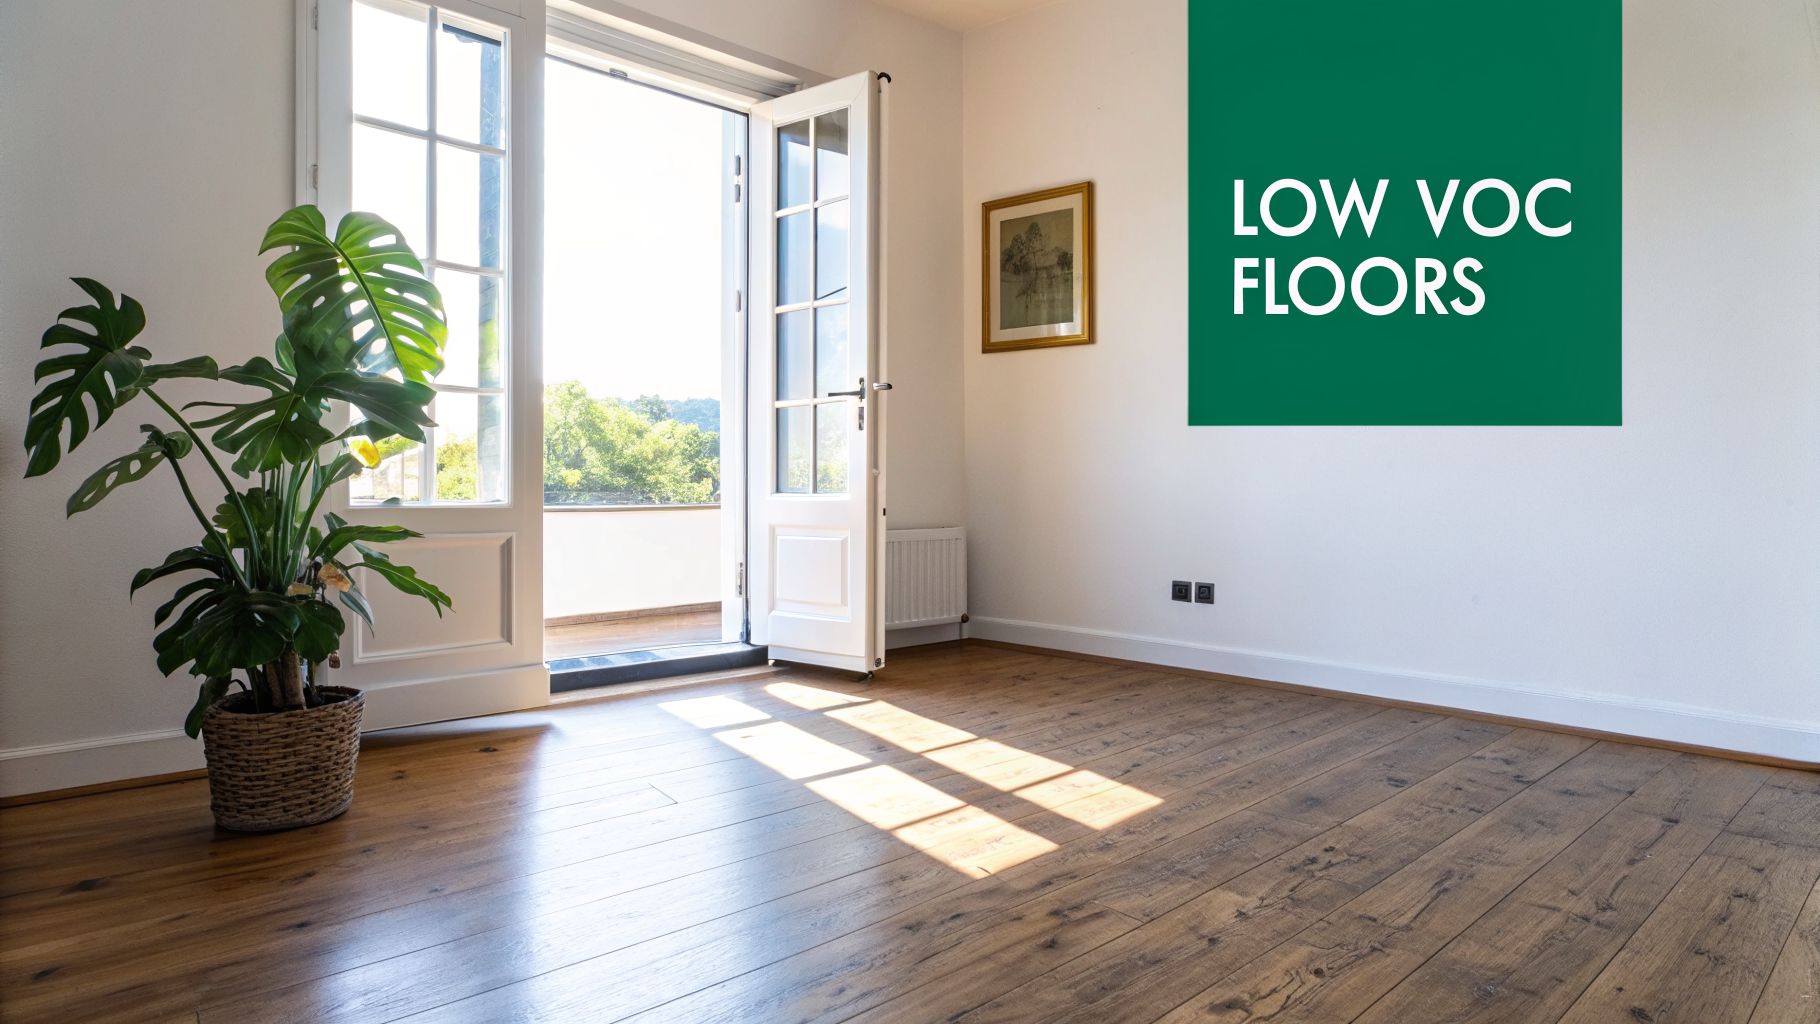
Here is a useful visual overview before that first cleanup or walk-through:
If there is any doubt, wait longer or ask your installer. One extra day is cheap. Regrouting cracked joints or replacing loosened tile is not.
Critical Factors That Can Double Your Drying Time
A floor can look ready the next morning and still be vulnerable underneath. I see that misunderstanding often in Richmond homes, especially after a humid week. The tile surface feels firm, the grout looks set, and homeowners want the room back. Meanwhile, the mortar or grout below the surface is still curing.
That gap between surface dry and fully cured is what stretches a schedule and causes expensive problems later.
Humidity keeps moisture trapped longer
Richmond humidity is the biggest wildcard. If indoor air is already damp, moisture leaves thinset and grout much more slowly. The floor may look unchanged hour to hour, but the cure can drag well past the label's baseline window.
This shows up most often in summer, in houses with crawl space moisture, and in rooms with poor air exchange. Bathrooms, mudrooms, and kitchens over damp subfloors are common trouble spots. A homeowner may feel normal indoor comfort and assume the tile is on schedule. The materials may not be.
Temperature affects cure, not just comfort
Cool rooms slow cement-based products. Very cold rooms can interfere with proper curing altogether, especially in enclosed porches, additions, vacant homes, or spaces where the HVAC is not running steadily.
A portable heater pointed at the floor is not a good fix. Uneven heat can dry the surface faster than the material below it cures, and that mismatch can leave you with weak joints or bond problems.
Large porcelain tile usually needs more patience
Tile size and tile density matter. Large-format porcelain does not breathe much, so moisture has fewer paths to escape. If the installer is using a heavier mortar bed to support bigger tile and maintain coverage, that adds more material that has to cure before the floor is ready.
Small ceramic tile often moves faster. Dense porcelain on a large layout usually does not.
Wider grout joints hold more moisture
Joint width changes the timeline too. Wider joints take more grout, and more grout means more internal moisture that has to work its way out before the joint hardens properly.
This matters on rustic looks, patterned layouts, and stone installations where wider joints are part of the design. The floor can appear finished while those joints are still gaining strength.
Subfloor conditions can add time
The tile assembly only cures as well as the surface under it allows. A concrete slab that still holds moisture, a recently patched floor, or a bathroom subfloor that was damp before installation can all slow the process.
That is one reason mixed-material projects need better scheduling than homeowners expect. The same house conditions that affect tile also affect hardwood floor acclimation time before installation. Flooring materials respond to the environment inside the house, not an ideal timeline on paper.
Air movement helps the room. It does not replace curing.
Steady airflow is useful. So is normal HVAC operation. What does not help is trying to force the floor dry with aggressive fans, space heaters, or by shutting off climate control to "save time."
Use stable indoor conditions instead. Keep the house conditioned, avoid big swings in temperature, and give moisture time to leave at a normal rate. That approach is a lot closer to other drying and restoration timelines, where the room may seem dry before the structure is.
Rushing the schedule is where failures start
Early grouting, early cleaning, early furniture placement, and early exposure to water all create risk. What usually fails first is not the look of the floor. It is the bond strength underneath or the integrity of the grout joint.
In practice, that means loose tile, powdery grout, cracked joints, hollow spots, or discoloration that shows up after you thought the job was done. Waiting an extra day or two costs very little. Reworking a failed tile floor does not.
The Final Shield When and Why to Apply Sealer
A lot of Richmond homeowners see sealed grout as the finish line. In practice, sealing only helps if the grout is ready for it.
If your grout calls for sealer, apply it after full cure, not when the joints only feel dry on the surface. That difference matters. Surface dry means the top of the joint no longer feels damp. Fully cured means moisture has worked out far enough for the grout to harden properly and accept sealer without trapping that moisture below.
Most tile does not need the same attention the grout does. The joint is usually the more porous part of the assembly, so that is where cooking oil, mop water, and everyday spills start leaving their mark first.

Why waiting before sealing matters
Sealer is not a shortcut for curing. If it goes on too early, the grout can dry unevenly under that protective layer. I have seen that show up as blotchy color, a hazy film, or joints that stay softer than they should. The floor may look done to a homeowner standing in the doorway, but the material in the joint is still catching up.
That same gap between "looks ready" and "is ready" shows up in other drying and restoration timelines. Building materials often fool people at the surface first.
Why sealer is worth doing
Done at the right time, sealer buys you maintenance breathing room. It slows down stain absorption, gives spills less time to soak in, and makes routine cleaning easier, especially in kitchens, entryways, and family bathrooms.
It also protects the work you already paid for. Regrouting stained or deteriorated joints is a lot more expensive and disruptive than sealing them once, correctly.
Homeowners who have dealt with wood floors usually recognize the same timing issue. A finish can be dry enough to walk past carefully and still not be cured enough for full use. The same idea comes up with hardwood coatings in this guide on how long polyurethane takes to cure.
A practical approach
Check the grout type first, because not every grout needs sealer and some newer products are designed to resist staining on their own. If sealer is recommended, wait for the cure window listed by the grout manufacturer, keep indoor conditions steady, and apply the sealer to clean, dry joints.
That patience prevents a lot of avoidable callbacks. In Richmond, where humidity can keep moisture hanging around longer than homeowners expect, giving grout time to fully cure before sealing is one of the simplest ways to protect the floor for the long haul.
The Richmond Factor How Local Climate Affects Your Project
Richmond VA has a way of turning a normal material schedule into a moving target. A tile floor installed in July does not live in the same conditions as one installed in October, even when the square footage and materials are identical.
Take a common summer remodel in Richmond VA. The AC is running, but people are going in and out, the humidity is high, and the house still feels damp by afternoon. In that setting, the floor may look ready long before the room has supported a good cure.
Now compare that with a mild fall week in Midlothian or Glen Allen. Windows stay closed, indoor humidity is steadier, and the house holds a much more predictable environment. The installer has a much easier time giving a realistic handoff window.
What helps in local conditions
A few habits make a big difference in this area:
- Keep HVAC consistent: Do not shut the system off to “save energy” during cure.
- Use dehumidification if needed: Especially during sticky weather or in older homes.
- Limit traffic through the room: Extra movement adds risk before the floor is ready.
- Avoid opening the house up all day: Outdoor humidity can work against you fast.
Richmond homeowners run into a similar issue with wood. Seasonal moisture changes can stress hardwood, which is one reason problems like cupping and movement show up. If that topic sounds familiar, this guide on what causes hardwood floors to buckle is worth a read.
That local climate awareness matters whether you are planning tile work, floor refinishing Richmond VA service, hardwood floor scratch repair, or full floor installation Richmond projects. The house itself affects the timeline.
Frequently Asked Questions About Tile Drying
Homeowners usually ask the best questions after the installer leaves. Most of them come down to one thing. “Can I speed this up safely?” Usually, the answer is no.
Quick Answers to Your Tile Drying Questions
| Question | Expert Answer |
|---|---|
| Can I walk on tile the same day if it feels solid? | No. Feeling solid is not the same as being fully cured. Wait for the installer’s timeline based on the mortar and grout used. |
| Can I use fans to make tile dry faster? | Gentle room airflow can help stabilize conditions, but forced drying does not replace cure time. Do not use heat aggressively to rush the process. |
| Is grout dry when it changes color? | Not necessarily. Grout can look dry on the surface before it has hardened internally. |
| Can I move furniture back in after the grout looks finished? | It is smarter to wait until the cure window has passed. Heavy point loads can damage fresh work. |
| Why does my new floor look done but still need more time? | Because the visible surface finishes first. The bond strength develops underneath and inside the joints. |
| What are signs something went wrong? | Hollow-sounding tile, shifting, cracked joints, or grout breaking loose are warning signs. |
| Can I mop the floor right away? | It is better to avoid full cleaning until the installer says the grout and any sealer are ready for moisture exposure. |
| Does Richmond humidity really make that much difference? | Yes. Damp indoor air can slow the cure and change how long the room needs to stay off-limits. |
Short answers to common shortcuts
Some shortcuts come up over and over.
- “I’ll just crack a window.” In Richmond VA, that can bring in more humidity.
- “I’ll run a space heater.” Extra heat can create uneven conditions and is not a substitute for cure.
- “It’s only one quick walk across the room.” One trip may be enough to shift a tile or stress fresh grout.
What to watch for after the wait
Once the recommended timeline has passed, pay attention to the floor during the first few days of normal use.
Look for:
- Joint consistency: Grout should stay firm and intact.
- Sound: Repeated hollow spots deserve a closer look.
- Movement: Tile should not rock or click underfoot.
Good rule: If you are asking whether it is too soon, it probably is.
For homeowners planning broader updates, the same caution shows up in every long-lasting finish. It applies to low-odor finishes, hardwood floor restoration, refinishing timeline decisions, and even simple hardwood floor repair. Cure time is part of the installation, not an annoying delay after it.
Why Richmond Homeowners Choose Buff & Coat
Homeowners in Richmond VA want straight answers, clean work, and realistic timelines. That is what makes a flooring company worth calling in the first place.
Buff & Coat takes the same practical approach whether the job involves hardwood floor refinishing, wood floor recoating, repair work, or floor installation Richmond projects. The goal is not to rush a floor out the door. The goal is to leave it properly finished so the homeowner is not dealing with preventable problems later.
Why local homeowners keep them in mind:
- 15 years in business
- Dustless sanding systems
- Local, owner-operated
- High-quality finishes
- Clear pricing and honest advice
- 5-star customer service
If you are unsure whether your floors need refinishing, repair, or replacement, getting a clear opinion from an experienced local contractor saves time and stress.
Ready to restore your hardwood floors? Buff & Coat Hardwood Floor Refinishing makes the process fast, clean, and stress-free. Call 804-392-1114 or request your free estimate at buffandcoatvirginia.com.