Why Buffing Your Wood Floors is the Smart Choice for Richmond Homeowners
Want your hardwood to shine again without the cost and mess of full refinishing? Learning how to buff wood floors replaces the tired topcoat with a fresh layer of protection for a fraction of the price.
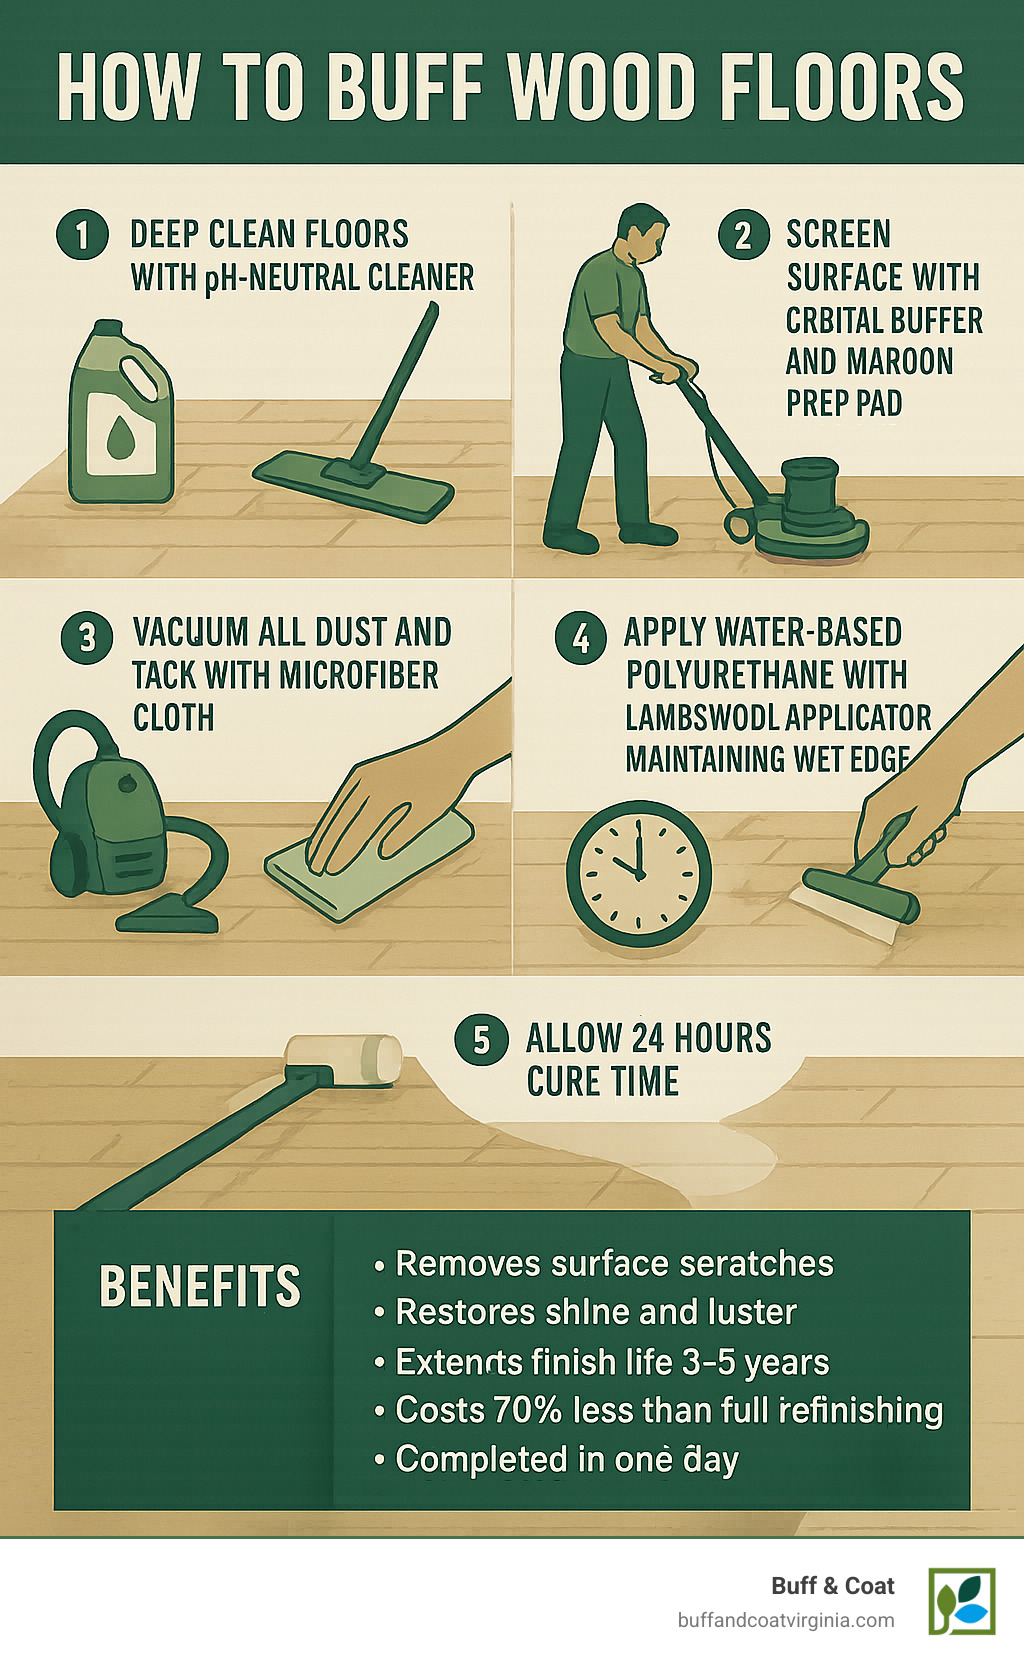
- Clean thoroughly with a pH-neutral cleaner
- Screen the existing finish with a buffer and maroon prep pad
- Vacuum up all dust
- Apply one coat of water-based polyurethane
- Wait 24 hours before heavy use
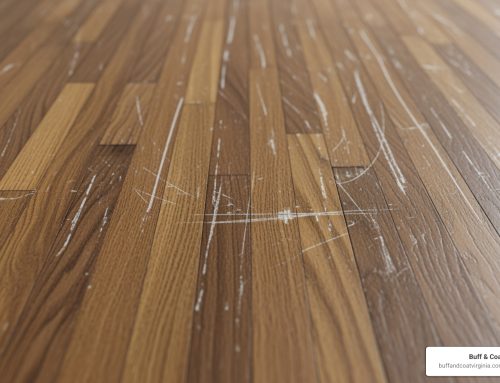
When to buff: light scratches, scuffs, dullness with intact finish
When NOT to buff: deep gouges, water damage, bare wood spots
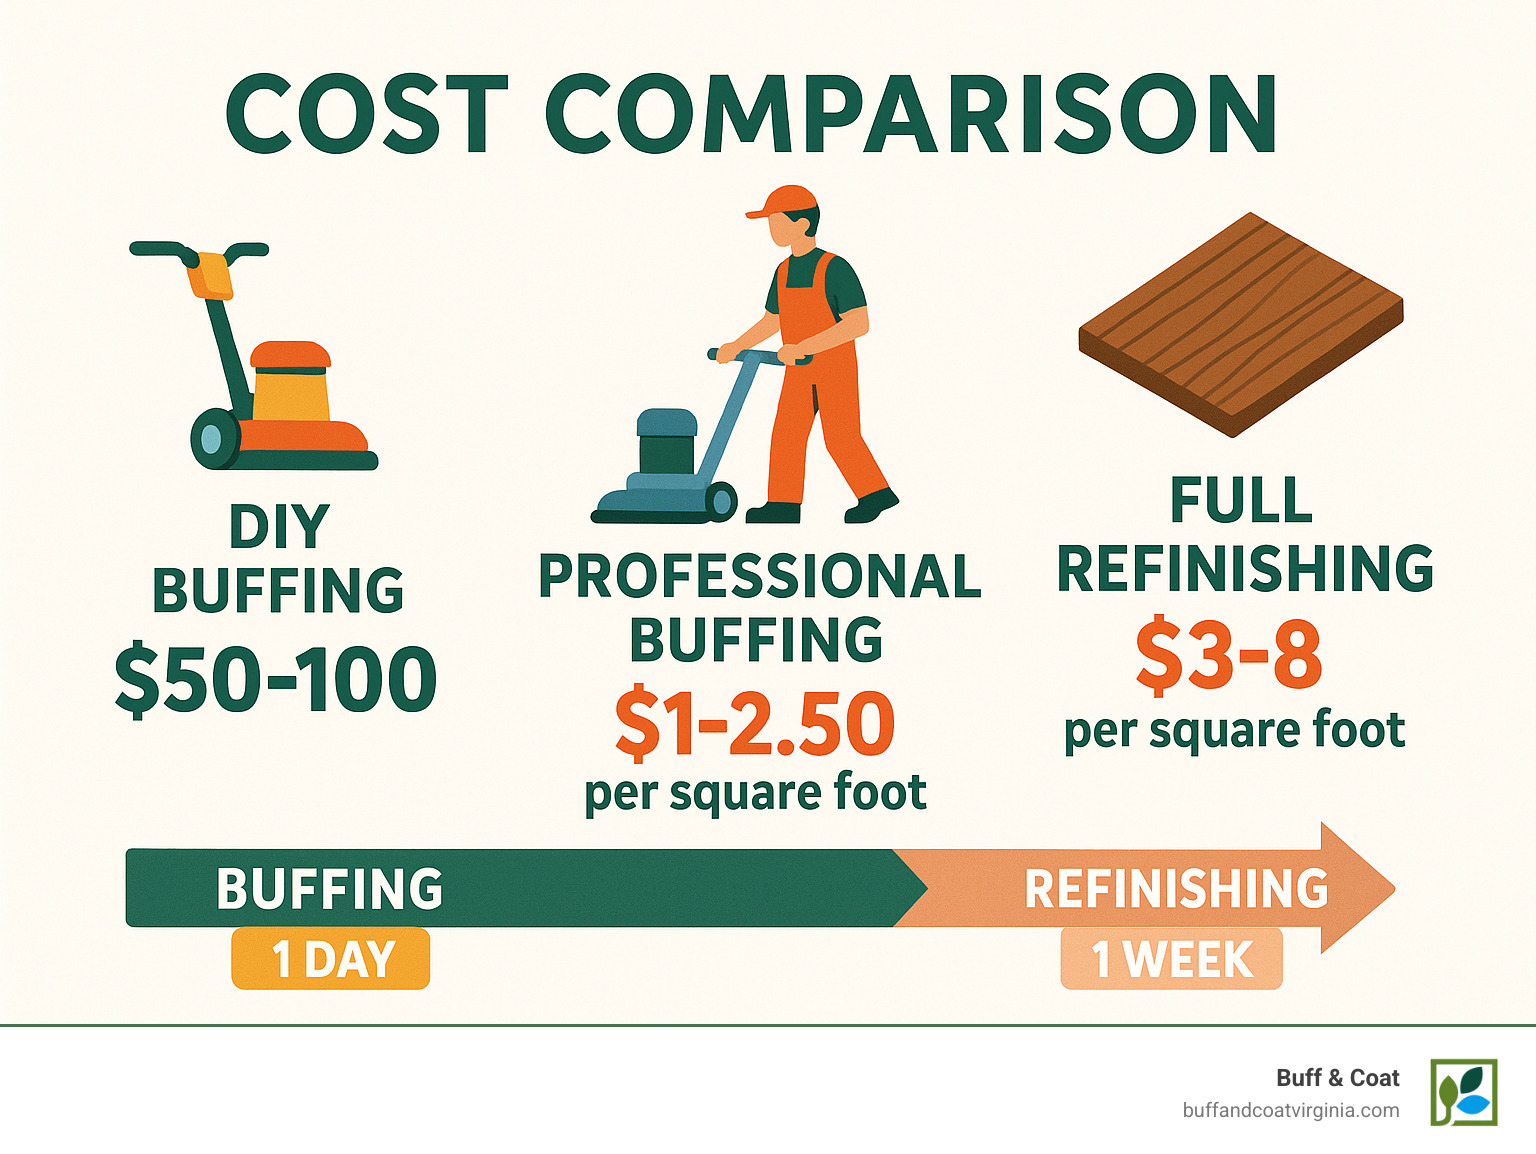
DIY cost: $50-100 | Pro cost: $1-2.50 / sq ft | Time: 6-8 hrs
Buffing works best on polyurethane-finished floors whose protective layer is still intact. Think of it as replacing clear nail polish—not stripping the nail itself.
I’m David Emmerling, President of Buff & Coat Hardwood Floor Refinishing. After 20 years restoring Richmond floors, I know a proper buff and coat can add years of life and restore showroom shine in just one day.
What is Floor Buffing and Is It Right for Your Floors?
Floor buffing is like a gentle facial for your hardwood floors, not major surgery. It involves screening the top layer of the polyurethane finish to smooth out surface-level scratches and prepare it for a fresh protective coat.
Most Richmond-area homes have polyurethane finishes (water-based, oil-based, or moisture-cured), which are ideal for buffing. This clear, protective layer takes the daily beating, so the wood underneath doesn’t have to.
Wax finishes, however, are a different story. If your floors have paste wax, it must be completely stripped before applying polyurethane, as the two don’t bond.
| Method | Best For | Cost | Time | Effort Level |
|---|---|---|---|---|
| Buffing | Light scratches, scuffs, dullness | $50-100 DIY / $1-2.50 per sq ft | 6-8 hours | Moderate |
| Sanding | Deep scratches, gouges, stains | $1,900+ average | 3-5 days | High |
| Full Refinishing | Severe damage, color change | $3-8 per sq ft | 1 week+ | Professional only |
The beauty of learning how to buff wood floors is that it tackles the most common complaints – dullness, minor wear and tear, and scuffs – without turning your home into a construction zone.
Many Richmond homeowners are amazed by this middle-ground approach. For more intensive work, our refinishing services guide covers all your options.
When to Buff Instead of Sand
So, when is buffing enough, and when do you need a more aggressive approach?
Buffing is your friend when you’re dealing with light scuffs, minor scratches that don’t catch your fingernail, or an overall lost luster. If the finish is intact but just looks tired, buffing will work wonders.
Skip the buffer if you’re staring at deep gouges, water damage with black rings, or areas where the worn-off finish shows bare wood. These problems go deeper than what buffing can fix.
Here’s a simple test: run your hand across the problem area. If it feels smooth but looks dull, buff away. If you can feel the damage, you’ll need more aggressive treatment.
The rule of thumb? If your floor’s protective layer is doing its job but just needs refreshing, buffing is perfect. If you can see actual wood damage, it’s time for a deeper approach.
For timing guidance on your next floor refresh, check out how often to refinish hardwood floors.
Identifying Your Floor’s Finish
Before you start any project, you need to know what you’re working with. Two simple tests will tell you everything you need to know.
The water drop test is foolproof: place a small drop of water in an inconspicuous corner. Sealed floors with polyurethane will make the water bead up. Unsealed floors with penetrating oil will absorb the water within minutes.
The steel wool test reveals wax finishes: gently rub a tiny area with fine steel wool. Wax creates a powdery residue, while a urethane finish just gets lightly scratched.
Most floors we work on in Richmond have polyurethane finishes, which are ideal for buffing. But if you find a wax finish, you’ll need to strip it completely before applying any new finish.
Urethane finishes come in three flavors: water-based polyurethane dries crystal clear and fast, oil-based polyurethane adds a warm amber glow but takes longer to cure, and moisture-cured urethane offers maximum durability but usually requires professional application.
Penetrating oil finishes soak into the wood rather than sitting on top, while waxed floors have that distinctive soft sheen that shows fingerprints easily.
For floors that have good bones but have lost their sparkle, our guide to restoring shine with hardwood floor buff and coat shows exactly what’s possible.
Gearing Up: Tools, Supplies, and Preparation
The secret to learning how to buff wood floors like a pro starts before you even plug in the buffer. Having the right tools and taking time for proper preparation makes the difference between a smooth, satisfying project and a frustrating mess that has you calling professionals anyway.
Here’s the good news: you don’t need to break the bank. A floor buffer rental costs under $50 per day, and your total DIY investment typically runs between $50-100. Compare that to thousands for full refinishing, and you can see why buffing is such an attractive option for Richmond homeowners.
Essential Tools and Supplies
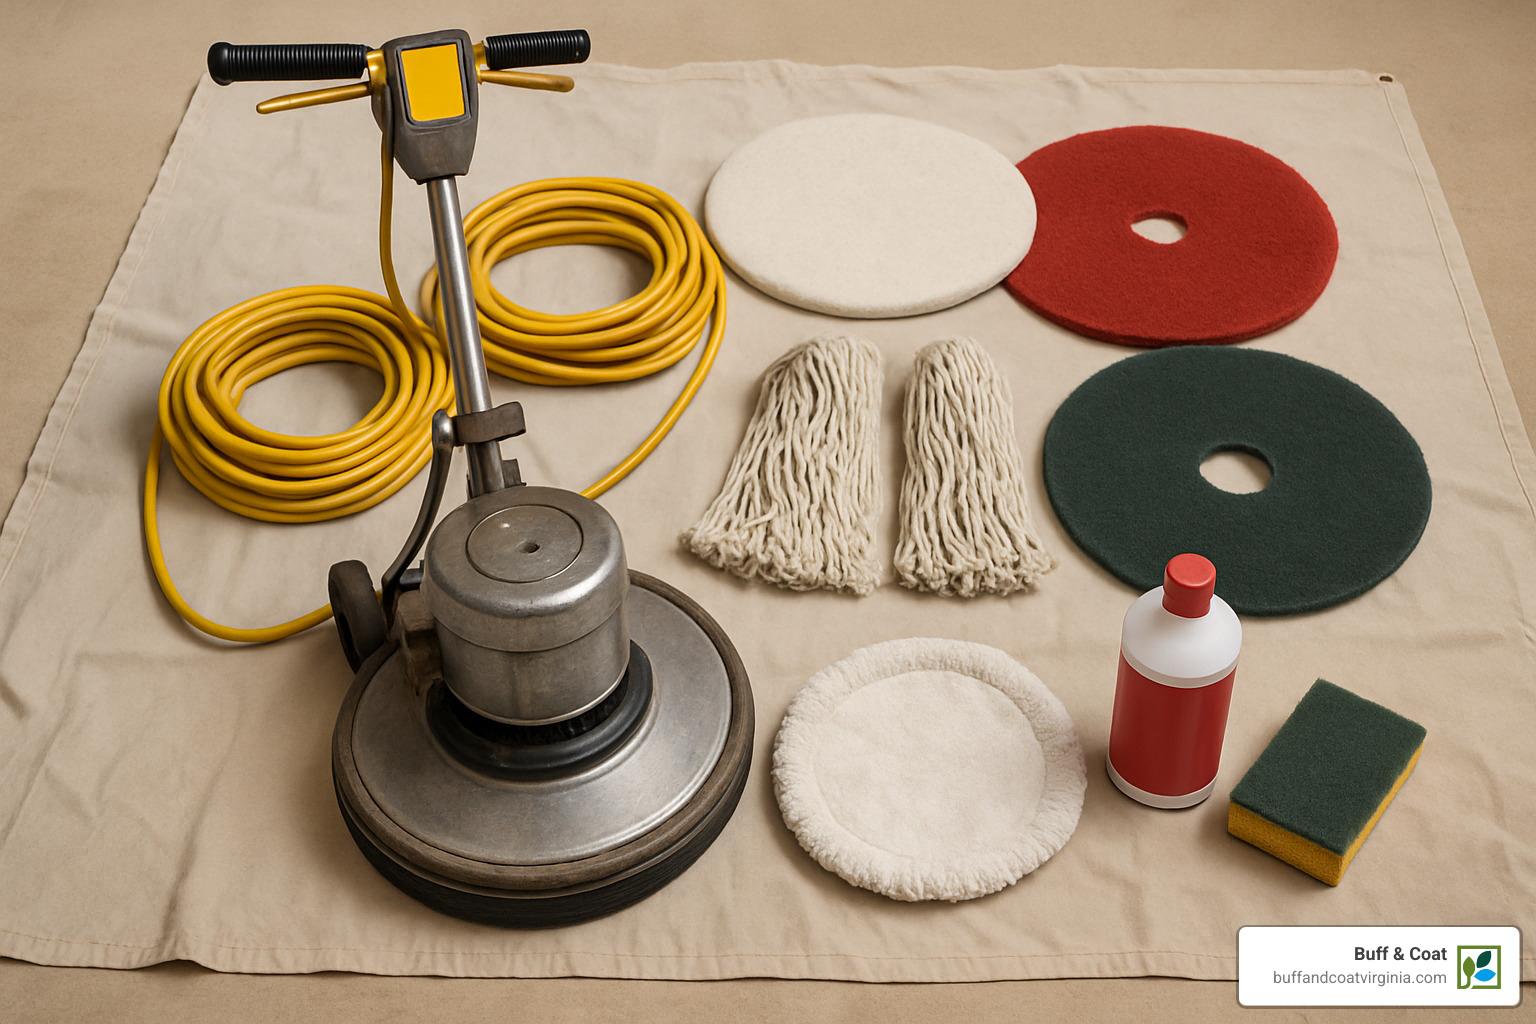
Think of this as your buffing toolkit – each item serves a specific purpose in creating that beautiful, professional finish you’re after.
The star of the show is your floor buffer, which you can rent from most home improvement stores. Ask specifically for an orbital sander or spray buffer rather than a dry buffer. These rotate at up to 1,000 RPM and are much more manageable for home use. The rental shop should give you basic operating instructions, but don’t be shy about asking questions.
Your buffing pads are like the business end of the operation. The maroon prep pad is your workhorse – think of it as a giant Scotch pad that gently abrades the finish without cutting too deep. It’s essentially 220-grit sandpaper in pad form. You’ll also want a polishing pad for the final finish work.
For dust control, a shop vacuum with brush attachment is essential. Regular household vacuums just don’t have the power to handle the fine dust created during buffing. A microfiber mop and cloths will handle the detailed cleaning work.
Safety isn’t glamorous, but it’s crucial. Safety glasses protect your eyes from flying debris, while a dust mask or respirator keeps you breathing clean air. Rubber gloves protect your hands from chemicals, and knee pads will save your knees during the detail work (trust us on this one).
For supplies, you’ll need painter’s tape to protect baseboards, pH-neutral hardwood floor cleaner for the deep clean, and water-based polyurethane finish for the final coat. A lambswool applicator or high-quality roller ensures smooth finish application, while plastic sheeting protects any furniture you can’t move.
Don’t forget buckets for your cleaning solutions – having dedicated containers keeps everything organized and prevents cross-contamination.
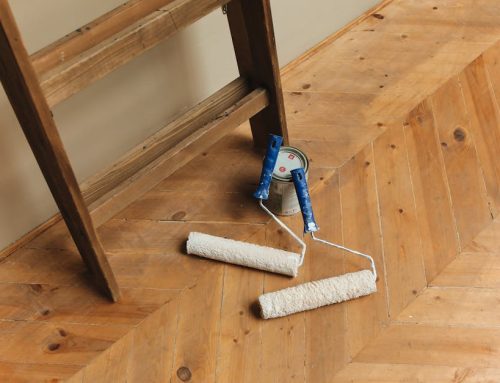
Preparing the Room for Buffing
Proper preparation prevents problems and sets you up for professional results. Start by removing absolutely everything from the room – furniture, area rugs, plants, even small decorative items. You want complete access to every square inch of flooring.
Protect your baseboards with painter’s tape. While buffing isn’t as messy as full sanding, you’ll still generate some dust and want to avoid accidental dings from the buffer bouncing around.
Walk the entire room and check for protruding nails. Hammer them down flush with the surface. A nail head catching your buffer pad can tear it or create gouges in your beautiful floor – not the kind of surprise you want mid-project.
Ventilation is key for both comfort and results. Open windows and set up fans to create good air circulation. While water-based polyurethane has low VOCs, proper airflow speeds drying and keeps you comfortable during the process.
Finally, do a thorough inspection of your floor. Mark any areas that need special attention or hand-sanding. This is also your last chance to honestly assess whether buffing is the right approach or if you need to call in professionals.
For comprehensive preparation strategies that ensure your project starts on the right foot, our guide on preparing for hardwood floor refinishing covers all the details you need.
The Ultimate Guide on How to Buff Wood Floors

Learning how to buff wood floors is all about steady, methodical work. Block off one day so you can finish without shortcuts.
Step 1: Deep-Clean and Dry
Vacuum corners and edges, then mop with a pH-neutral cleaner like Bona Hardwood Floor Cleaner. Tack with a microfiber cloth and let the surface dry completely—moisture causes streaks. For extra tips, see our guide on deep cleaning hardwood floors.
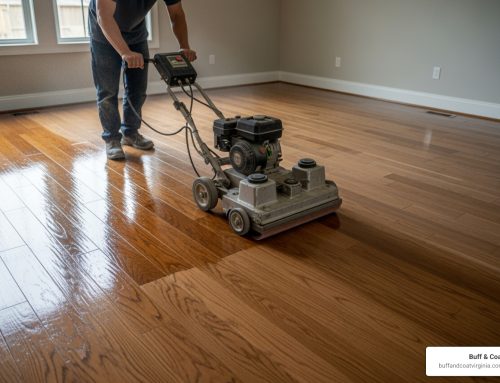
Step 2: Screen the Finish
Attach a maroon prep pad to your buffer. Starting opposite your exit, guide the machine with the grain, overlapping passes by 50 %. Keep it moving; pausing can burn the finish. Hand-sand edges with 220-grit paper. More technique pointers: buffing timber floors.
Step 3: Vacuum and Tack Again
Use a shop vac with a brush head, then dry-tack to grab the fine powder. Let airborne dust settle for 15 minutes, then tack once more. Learn about our dust-free refinishing process.
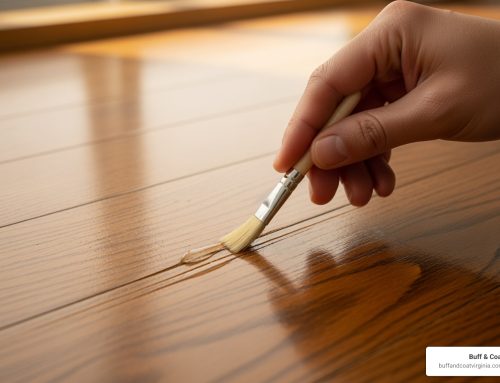
Step 4: Apply Fresh Finish
Strain your water-based polyurethane, cut in edges with a brush, and roll or pad the main field, always keeping a wet edge. Two thin coats are usually ideal; wait 3 hours between coats and 24 hours before heavy traffic. Detailed coat-to-coat advice: buffing hardwood floors between coats.
Pro Tips, Common Mistakes, and Long-Term Care
After two decades refining Buff & Coat’s process in Richmond, these pointers separate flawless jobs from fixes-gone-wrong.
Avoid These Pitfalls
- Wrong pad: the maroon prep pad is the sweet spot.
- Excess pressure: the buffer’s weight is enough—guide, don’t wrestle.
- Stopping in one spot: three seconds can burn a circle you’ll need to sand out.
- Skipping the deep clean: dirt under a new coat looks like trapped bugs.
- Finishing over dust: vacuum, tack, repeat.
- Not testing in a small, hidden area first.
Protect Your Investment
Daily: quick sweep and wipe spills.
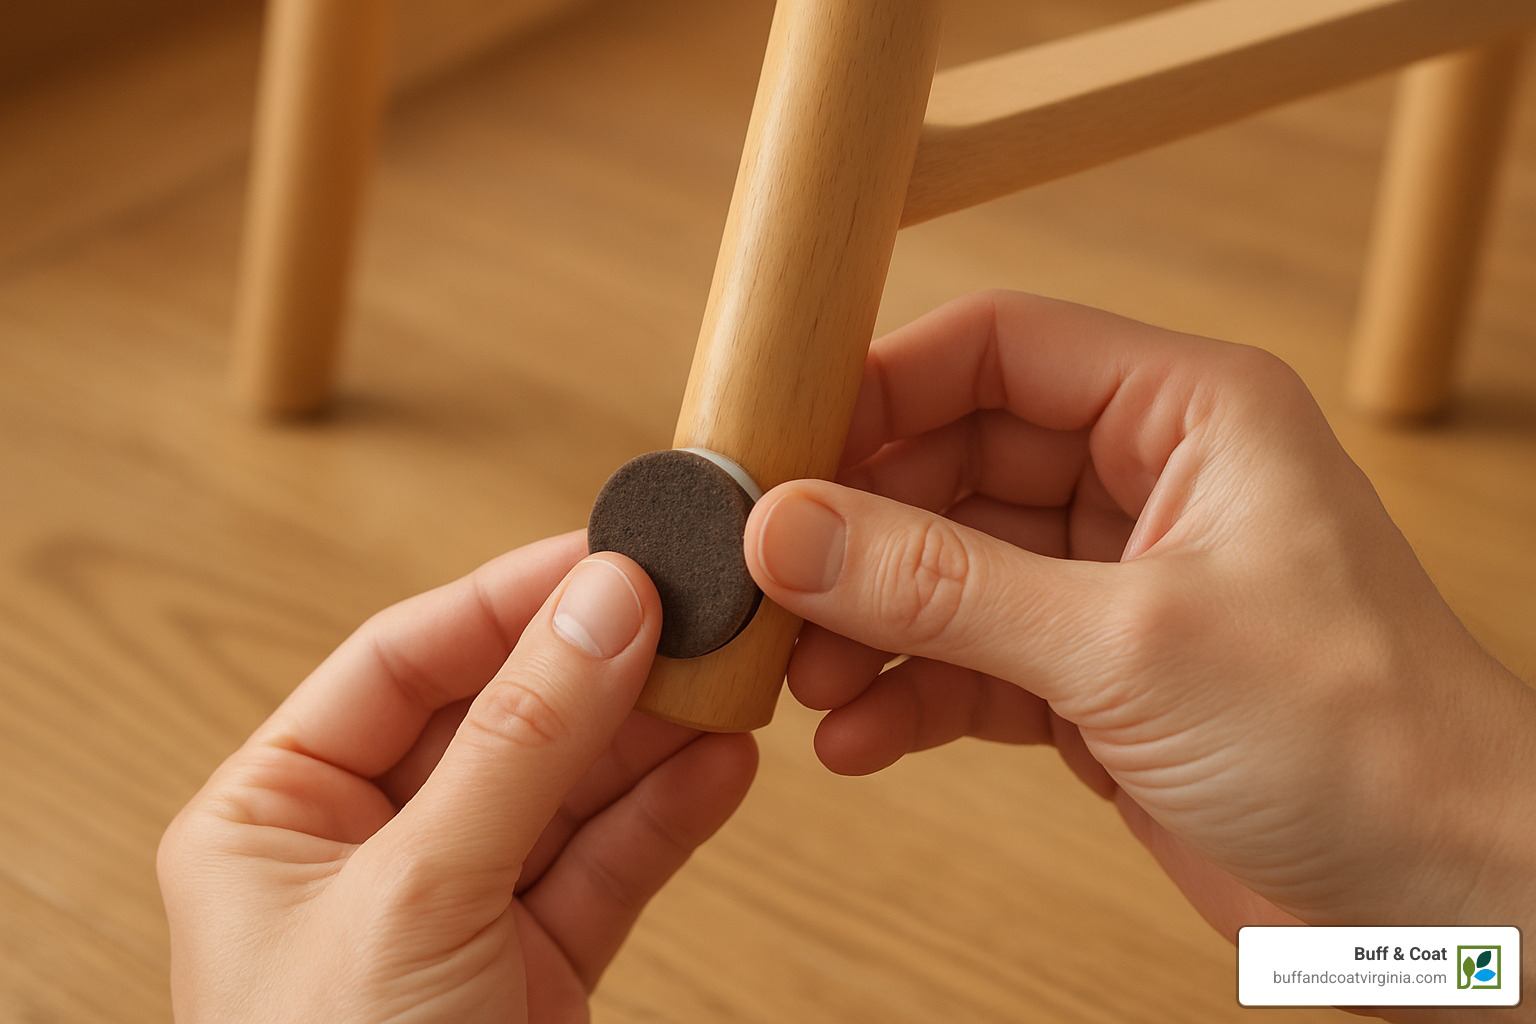
Weekly: damp-mop with wood-safe cleaner; check felt pads.
Monthly: deeper clean and inspect for early wear.
Seasonal: keep indoor humidity 30–50 %, rotate rugs, and schedule a maintenance coat every 3–5 years. More tips in our guide to proper hardwood floor maintenance.
Frequently Asked Questions about Buffing Hardwood
What’s the difference between buffing and sanding?
Here’s the simplest way to think about it: buffing is like giving your floors a gentle facial, while sanding is major surgery.
Buffing (also called screening) works on the surface level. We lightly abrade just the top layer of finish to prepare it for a fresh coat. It’s perfect for those everyday scuffs from furniture legs or pet claws that make your floors look tired.
Sanding, on the other hand, removes the entire finish plus a thin layer of the actual wood underneath. This is what you need for deep scratches, gouges, water damage, or when you want to change your floor’s color completely. It’s a much more invasive process that requires full refinishing afterward.
Think of it this way: if your floors just need a refresh, buffing is your answer. If they need healing from serious damage, sanding is the way to go.
Will buffing remove deep scratches or change my floor’s color?
This is probably the most common misconception about how to buff wood floors. Buffing only works on surface-level imperfections in the finish layer – it won’t remove scratches that have gone through to the actual wood.
If you can catch your fingernail in a scratch, buffing won’t fix it. Those deep gouges need the full sanding treatment.
As for color changes, buffing with a clear finish won’t change your wood’s color at all. However, it will restore the richness and depth that made you fall in love with your floors in the first place. Many homeowners are amazed at how much brighter and more vibrant their floors look after a good buffing and recoating.
One Richmond client told us her floors looked “like they were hiding under a gray film” before buffing. The difference was dramatic, even though we didn’t change the wood color one bit.
How much does it cost to buff hardwood floors?
The cost difference between DIY and professional buffing is significant, but so is the difference in results and peace of mind.
DIY buffing typically runs $50 to $100 for an average room. Most of this cost goes to renting the buffer (usually under $50 per day) and buying supplies like polyurethane, pads, and cleaning products.
Professional buffing costs around $1 to $2.50 per square foot. For a typical living room, you’re looking at $100 to $300 depending on size and local rates.
To put this in perspective, full refinishing averages $1,900 for severely damaged floors, making buffing an excellent value when it’s the right solution for your situation.
The professional route makes sense if you want guaranteed results without the learning curve. We’ve seen plenty of DIY projects that needed professional correction afterward – which ends up costing more than hiring professionals from the start.
For detailed information about when professional services are worth the investment, check out our article on hiring professionals for hardwood floor refinishing.
Conclusion
There’s something deeply satisfying about changing dull, worn floors into gleaming surfaces that reflect light like mirrors. Learning how to buff wood floors gives you that power – the ability to restore your home’s natural beauty without the expense and disruption of full refinishing.
The process we’ve walked through together – deep cleaning, careful screening, thorough dust removal, and applying that perfect finish coat – consistently delivers results that make homeowners smile. It’s like giving your floors a spa day, and the change is often more dramatic than people expect.
The numbers tell the story: at $50-100 for a DIY project versus $1,900+ for full refinishing, buffing makes financial sense when your floors have good bones but have lost their luster. More importantly, you can complete the entire project in a single day rather than living with the chaos of a week-long refinishing job.
Your success comes down to respecting the process. Proper preparation sets the foundation, using the right techniques ensures even results, and taking time for dust removal separates amateur from professional-looking outcomes. Rush any step, and you’ll see it in the final result.
Think of your floors as one of your home’s hardest-working features. They support your family, your furniture, and your daily life. The investment in proper buffing pays dividends in beauty, protection, and longevity that you’ll enjoy for years to come.
Of course, not everyone feels comfortable wielding a floor buffer or working with polyurethane finishes. If the process seems daunting, or if you want to guarantee that perfect, dust-free finish, professional service might be your best bet.
Our signature buff and coat process has restored thousands of floors across Richmond, Glen Allen, and Midlothian using advanced, dust-free techniques that deliver stunning results in just one day. We’ve seen the relief on homeowners’ faces when they realize they don’t have to live through weeks of refinishing chaos to get beautiful floors.
Whether you tackle this as a weekend project or call in the professionals, the important thing is taking action. Don’t let dull, scuffed floors diminish your home’s appeal when such an effective solution exists.
Ready to see what professional buffing can do for your floors? Explore our Buff and Coat Services and find why Richmond homeowners trust us with their most important flooring projects.