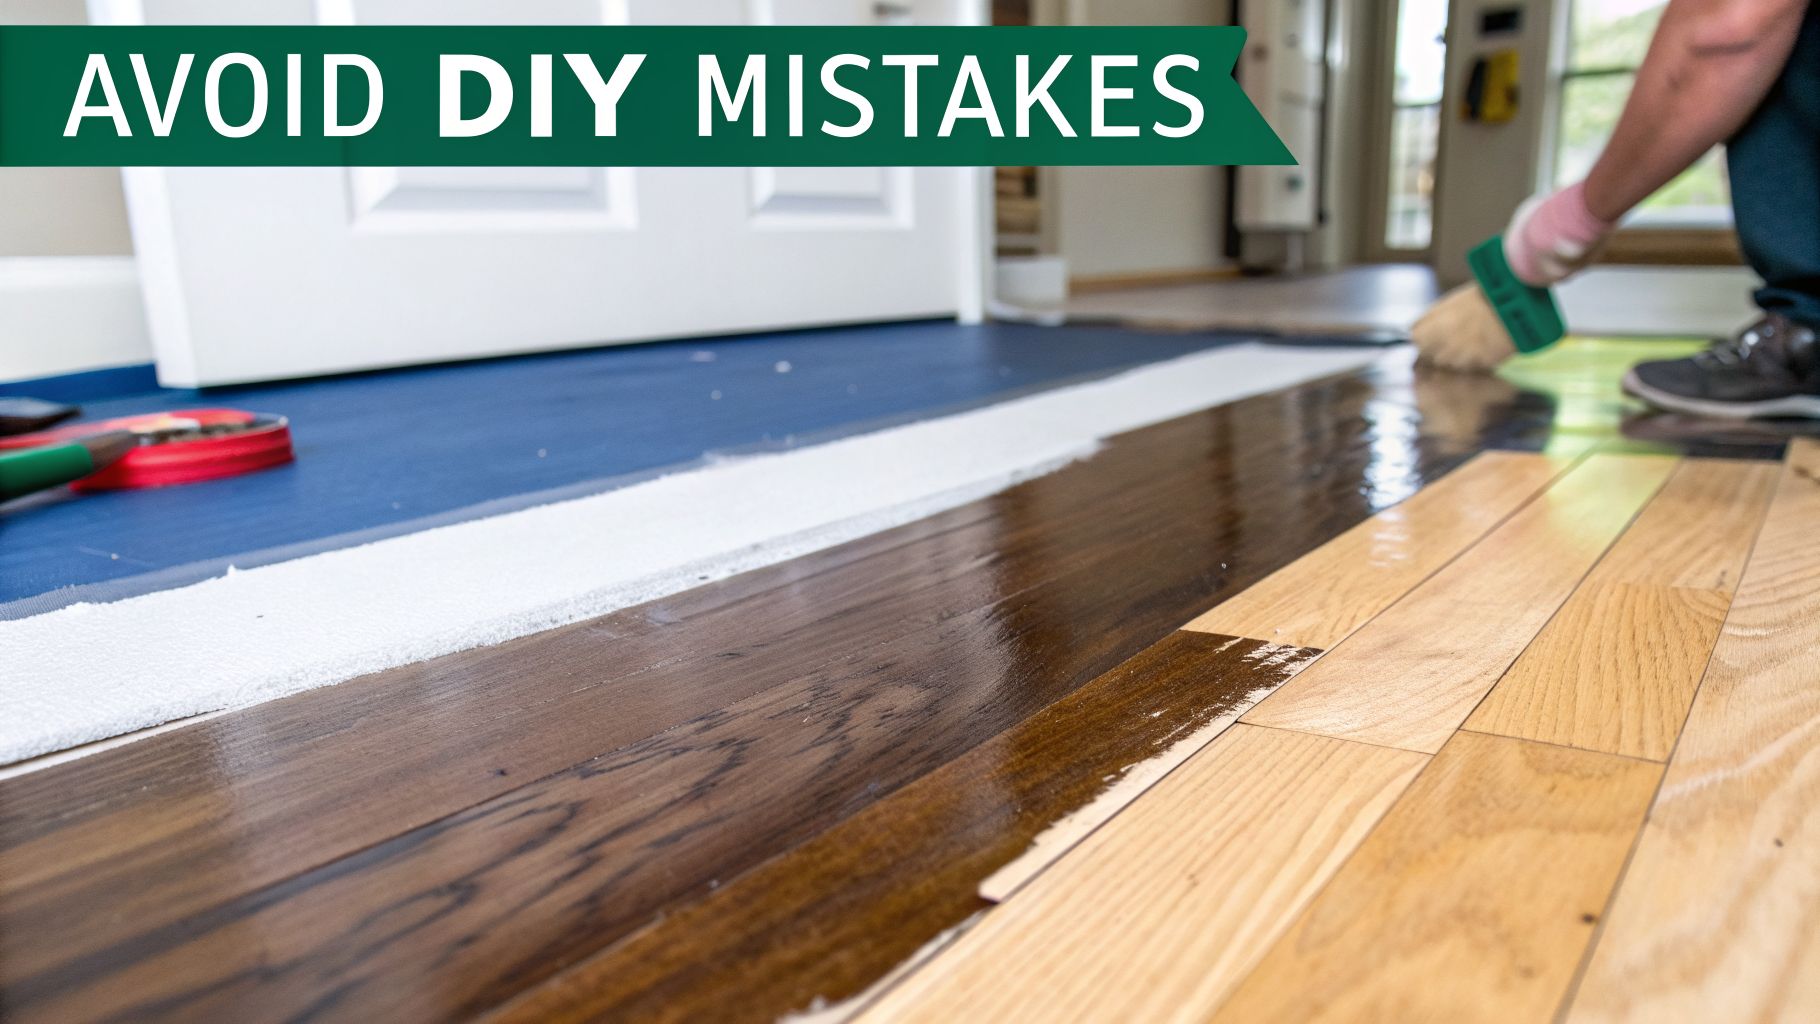
Richmond homeowners usually start looking into sanding hardwood floors by hand when they notice one ugly patch, a scratch near a doorway, or worn finish around the edges and think, “I can probably fix that myself.” Sometimes that instinct is right. Sometimes it turns a small cosmetic issue into a much bigger floor refinishing problem.
Hand sanding has a place in hardwood floor refinishing, especially for detail work and small repairs. It does not replace a full sanding system for most rooms, and that's the part many DIY articles gloss over. If you live in Richmond VA and you're trying to decide whether to do a small repair yourself or call for professional dustless sanding, the decision matters as much as the technique.
When Hand Sanding Is the Right Choice for Your Floors
The first question isn't how to sand. It's whether hand sanding makes sense at all.
A lot of homeowners assume that if a machine can damage a floor faster, sanding by hand must be the safer option for everything. That sounds logical, but it's only partly true. Hand sanding gives you more control in a tight spot. It also makes it very easy to create a shallow dip, leave a rough scratch pattern, or stop halfway through because the area is larger than it looked at first.
Good candidates for hand sanding
Hand sanding works best when the problem is limited and specific. Think in terms of small-area correction, not full-room removal.

Here's where I'd consider it reasonable:
- A small scratch or scuffed patch where the surrounding finish is still in decent shape
- Corners and edges where larger sanding equipment can't reach cleanly
- A localized repair after a board replacement or minor hardwood floor repair
- Blending detail areas after other sanding work has already been done
Professional guidance consistently treats hand sanding as a supplement for edge and corner work, not a replacement for field sanding across the main body of the floor, as explained in Pete's Hardwood Floors' sanding process guide.
Practical rule: If you can describe the problem with one hand gesture, hand sanding may be reasonable. If you need to sweep your whole arm across the room, you're probably into full-refinish territory.
When hand sanding becomes a mistake
The trouble starts when a homeowner tries to use hand sanding for broad wear, dark traffic lanes, widespread finish failure, pet damage across a room, or uneven boards.
That's where labor and finish quality collide. You may remove finish in one zone faster than another. You may sand through more wood in one patch while the surrounding floor still holds old finish. Once stain or polyurethane goes on, those differences show up.
A few warning signs usually mean skip the hand-only plan:
- The damage extends through most of the room
- The finish is peeling or failing in multiple areas
- Boards are uneven enough that you're tempted to “level” them by hand
- You want one uniform look across the entire floor
One of the biggest gaps in DIY advice is that it rarely answers how much floor can realistically be done by hand before the work becomes inefficient or uneven. If you're on that fence, it's worth reading this local perspective on when to hire someone to sand floors.
Richmond homes add their own complications
In Richmond VA, a lot of homes have a mix of old oak floors, patched areas, additions, and traffic wear near exterior doors. That combination makes spot work tricky. Older floors can sand beautifully, but they also show poor blending fast, especially when sunlight hits the repair from a side angle.
For homeowners in Richmond VA, Midlothian, Henrico, and Chesterfield, the honest answer is usually this: hand sanding is useful for small repairs and detail work. It's rarely the right method for a whole room if you care about consistency.
If you're unsure whether your floor needs a small repair, a buff and coat service, or full hardwood floor restoration in Richmond VA, get an opinion before you start removing wood. That's cheaper than correcting a patchy DIY refinish later.
Gathering Your Tools and Preparing the Space
A lot of hand-sanding jobs go sideways before the first sheet of paper touches the floor. The mistake is usually simple. Homeowners treat a repair like a quick touch-up, then end up fighting dust, uneven pressure, and scratches they created during setup.

For a small repair, the tool list should stay tight. Hand sanding works best when you can control every pass, and that starts with using a few basic tools well instead of improvising with whatever is in the garage.
What you need on hand
Keep these items nearby before you start:
- Sandpaper in the grit range your repair calls for
- A sanding block to keep pressure even and prevent finger grooves in the wood
- A scraper for finish buildup in corners, along trim, or in small damaged spots
- A vacuum and clean cloths for dust removal between sanding and finishing
- Eye protection and a respirator
- Knee pads or work gloves if you'll be down for a while
If you are still deciding whether this job really belongs to hand tools or calls for equipment, this guide on a hardwood floor sander and edger shows what each machine is built to handle. That comparison helps because many homeowners reach for hand sanding on jobs that are already too large to blend well by hand.
Prep the room like a jobsite
Clear the area completely.
Even a small sanding repair throws fine dust into nearby rooms, supply vents, baseboards, and window trim. Plastic off openings if you can, remove rugs and soft goods, and vacuum the floor before you begin. Any grit left on the surface can get trapped under the paper and leave scratches that were not there before.
Check the floor closely while the room is empty. Look for proud nail heads, loose transition strips, dried paint specks, and anything else hard enough to tear paper or mark the wood. A nail sitting slightly above the surface can shred abrasive fast and leave a bright metal streak in the repair area.
If the floor is not clean and clear, hand sanding turns into scratch repair.
Lighting matters more than many homeowners expect. Bring in a work light or open the blinds and look across the floor at a low angle. Side light reveals finish ridges, shallow cupping, and old patch boundaries that are easy to miss from standing height.
Control the dust before you create it
Dust control is one of the clearest dividing lines between a sensible DIY patch and a job that should go to a pro. On a small repair, you can usually manage it with isolation, vacuuming, and patience. On a full room, dust gets into everything, and cleanup often lasts longer than the sanding.
That is one reason professional dustless sanding makes sense once the work extends beyond a small spot repair. The equipment is faster, the cut is more consistent, and the containment is far better than what most homeowners can set up by hand.
For a visual walkthrough before you begin, this video gives a useful look at the process and pacing:
The Professional Hand Sanding Technique
Hand sanding works best when the target is small and clearly defined. A worn doorway, a pet stain near a board seam, or finish damage along an edge can often be handled by hand. A whole room is different. Once you are trying to keep an entire floor flat and uniform, hand sanding gets slow, inconsistent, and much harder to blend.
The standard on hardwood is to start coarse enough to remove the problem, then refine the scratch pattern until it is ready for finish. A basic progression is 40-grit for old finish or deeper damage, then 80-grit, then 120-grit, as shown in this hand-sanding floor guide. The mistake I see most often is starting too fine. That wastes time and polishes the defect instead of cutting it out.

Each grit has a specific job:
| Grit stage | What it does | What goes wrong if you misuse it |
|---|---|---|
| 40-grit | Cuts old finish and deeper surface damage | Leaves coarse scratches if you stop there |
| 80-grit | Refines the heavy scratch pattern | Won't fix deep marks if the first pass was uneven |
| 120-grit | Preps the surface for a finer-looking finish | Can polish defects instead of removing them if used too early |
Sand with the grain and keep the block flat
Scratch direction matters on hardwood. Sand with the grain unless you know how you will remove a cross-grain scratch pattern afterward. Use a sanding block or firm hand pad, keep steady pressure, and work in overlapping passes so you do not leave isolated cut lines in the repair.
Do not bear down on one dark spot for too long.
That is how low spots get created. You may remove the stain or finish, but the board ends up reflecting light differently from the surrounding floor. On a small repair, that shallow dip can stand out more than the original damage.
Corners and board edges are easy to overcut
Edges sand faster because pressure concentrates there. Corners are worse. If finish is packed tightly into a corner, a sharp scraper often does cleaner work than trying to grind it out with folded sandpaper.
Then switch back to controlled hand sanding and blend outward into the surrounding area. The patch should taper into the existing floor. If you can still trace a hard outline in bare wood, there is a good chance the repair will stay visible after coating. If you need help choosing a finish that matches the surrounding look, review this guide to the difference between oil- and water-based polyurethane before you sand farther than necessary.
Blending is the most difficult part
Removing finish is usually straightforward. Making the repair disappear is harder.
A few habits make a big difference:
- Feather the edges instead of stopping at a hard boundary
- Check the area from multiple angles because side light shows swirl marks and ridges fast
- Vacuum between grits so loose abrasive does not cut random scratches into the next pass
- Inspect often and stop once the defect is gone and the scratch pattern looks even
Homeowners should make a calm decision. If the repair area keeps spreading, the color is changing unevenly, or adjacent boards are starting to get thinner at the edges, stop. Hand sanding is still the right method for detail work and spot repairs, but once the job grows beyond that, the better move is usually professional sanding with proper dust control and full-room equipment.
Know when hand sanding stops making sense
Professionals still hand sand all the time. We use it for corners, touch-up work, transitions, and small blend areas after the main machines have flattened the field. That is the right role for it.
If you are facing a full room, heavy traffic wear, widespread finish failure, or broad engineered hardwood refinishing questions, hand sanding is usually the wrong tool for the main job. It takes too long, the floor is harder to keep flat, and the final appearance is less predictable. That is the point where professional dustless sanding usually saves both the floor and your weekend.
Applying Your Finish for Lasting Protection
A decent sanding job can still look bad under a sloppy finish. This is a common pitfall for DIY floor work.
The surface has to be clean. Not “looks clean.” Actually clean. If dust is left in the grain, trapped along edges, or floating in the room, it lands in the coating and stays there. That's why finishing after hand sanding takes more patience than most homeowners expect.
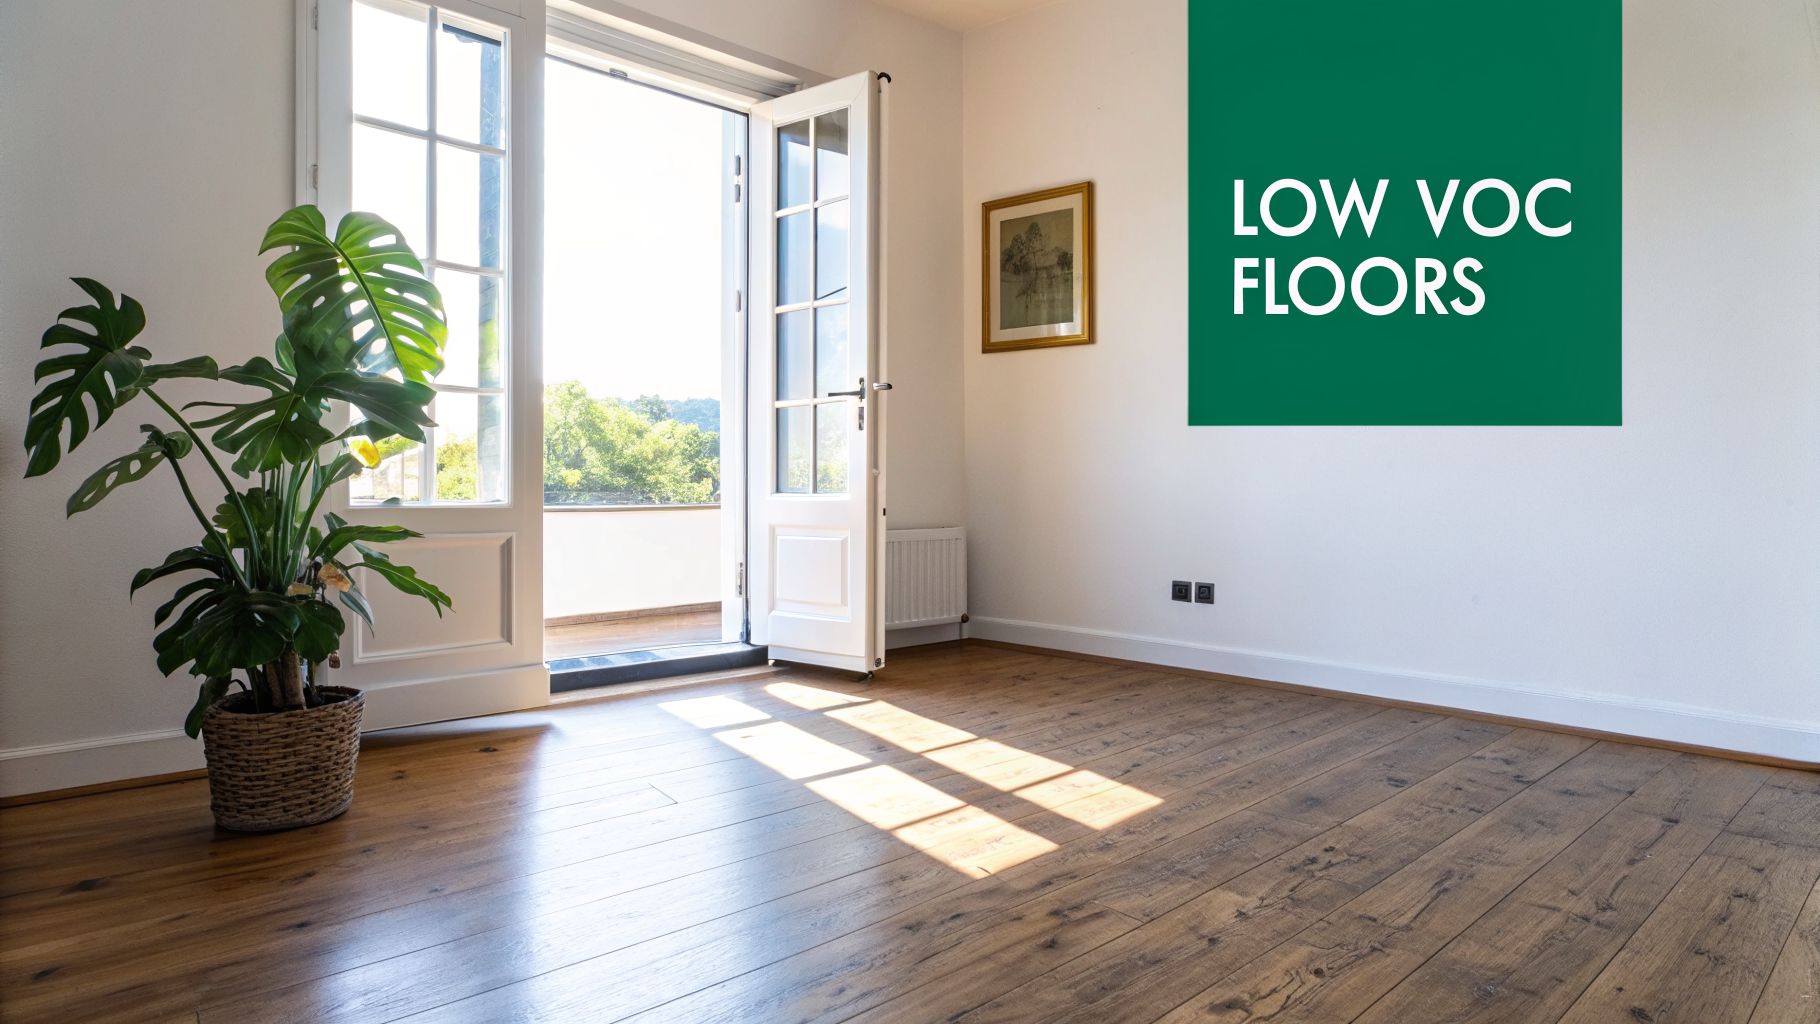
Choose the finish based on the floor and the household
Homeowners usually think first about sheen, but durability, odor, cure behavior, and appearance over time matter just as much. Some prefer low-odor finishes because they're easier to live around during the project. Others want the warmer look associated with traditional systems.
If you're deciding between product types, this breakdown of the difference between oil- and water-based polyurethane is worth reviewing before you buy.
A few practical considerations:
- Water-based coatings are popular when homeowners want lower odor and a cleaner natural look.
- Oil-based coatings are often chosen when someone prefers a richer, warmer tone.
- Spot repairs are harder than full coats because matching existing sheen and color takes judgment, not just careful brushing.
Thin, even coats win
Don't try to “build protection” by laying the finish on heavy. Thick coats make it harder to control lap lines, dust nibs, and uneven sheen. Use the right applicator for the product, work with the grain, and maintain a wet edge.
For a small repair, your real challenge is transition. The new finish can look glossier, flatter, or slightly different in color even if the sanding was good. That's why homeowners often think they have a sanding problem when their issue is a coating-match problem.
A repair can be sanded correctly and still look wrong if the finish doesn't blend with the surrounding floor.
This is where a simple repair becomes a refinishing decision
If the repaired spot accepts finish differently than the rest of the room, you may be looking at a broader recoating or wood floor recoating decision rather than a true spot fix.
That's common in older homes in Richmond VA, where sun exposure, previous products, and years of wear leave the floor with a finish history that isn't obvious until the new coat hits it. For many homeowners, this is the point where a DIY patch stops being cost-effective and a professional buff and coat service or full refinish starts making more sense.
If you're uncertain, don't keep adding product hoping it will level itself out. That usually makes the repair more noticeable, not less.
The Pro Alternative Dustless Hardwood Floor Refinishing
There's a big difference between doing a careful hand repair and trying to refinish a room on your knees with sandpaper, a vacuum, and determination. One is realistic. The other usually ends with fatigue, dust in every room, and a floor that still needs professional correction.
Where professionals use hand sanding
In trade practice, hand sanding is detail work. After machine sanding, tight corners and unreachable areas are typically handled with a scraper and 80- to 100-grit paper, then blended so the finish doesn't telegraph a halo or picture-frame effect, as described in The Home Depot's refinishing guide.
That distinction matters. Hand work absolutely belongs in refinishing. It just belongs in the right part of the process.

Why dustless sanding changes the experience
For a full room or whole level, the best alternative to a risky DIY project is professional dustless sanding. It controls debris at the source, reduces cleanup, and gives the operator consistent cutting power across the floor.
That matters a lot in occupied homes in Richmond VA. People still have pets, furniture, work schedules, and air quality concerns. A controlled sanding system is better suited to larger hardwood floor refinishing work than hand sanding ever will be.
Buff & Coat Hardwood Floor Refinishing offers dustless sanding for homeowners in Richmond VA who need full sanding, recoating, or hardwood floor repair and want a cleaner process than a traditional open-dust job.
Time, judgment, and finish quality
Most homeowners underestimate the decision-making part of refinishing. The sanding itself is only one layer. You also need to judge when the old finish is fully removed, whether the scratch pattern is uniform, whether the floor should be recoated or fully refinished, and how to handle edges so the room reads as one surface.
That same judgment is part of running a trade business well. If you're curious how contractors think about process, scheduling, and field tools more broadly, this roundup of Growth 4 Trades app recommendations is a useful look at how service businesses stay organized.
For many homes in Richmond VA, Glen Allen, and Short Pump, the sensible split is simple:
- Use hand sanding for minor detail corrections.
- Use a buff and coat service when the finish is dull but the wood underneath is still sound.
- Use full professional refinishing when the wear is broad, the scratches are deep, or the room needs a uniform reset.
If you're comparing options for floor refinishing Richmond VA, honest advice beats guesswork. Not every floor needs the most expensive service. Not every floor should be attacked with sandpaper by hand, either.
Frequently Asked Questions About Floor Sanding
Can I sand an entire hardwood room by hand?
You can, but that doesn't mean you should. For most homeowners, a full room done by hand is too slow, too uneven, and too physically demanding to produce a clean professional result. Hand sanding is better reserved for corners, edges, and small repairs.
How do I know if a scratch is too deep for DIY repair?
If the damage has broken through finish and into the wood across a noticeable area, or if the board surface looks crushed or gouged, a simple hand-sanded touch-up may not blend well. Deep damage often needs a broader refinishing approach or localized board repair.
Will hand sanding remove dark stains or pet marks?
Sometimes it helps, but not always. Discoloration that has soaked into the wood fibers may remain even after the finish is removed. That's one reason homeowners in Richmond VA often call for an inspection before committing to DIY hardwood floor restoration.
Is a buff and coat the same as sanding?
No. A buff and coat service is for floors with surface wear in the finish layer, not for floors that need old finish fully removed or wood damage corrected. It refreshes the protective coating. Full sanding removes more material and addresses deeper issues.
What if my repair looks lighter than the rest of the floor?
That usually means the surrounding floor has aged, ambered, darkened from sunlight, or holds a different finish build than the repaired section. The sanding may be fine. The mismatch is often a color and sheen problem, which can push the job toward recoating or full refinishing.
Is dustless sanding really worth it?
For larger projects, yes. It makes the process cleaner, more manageable, and more realistic for an occupied home. In Richmond VA homes with families, pets, or open living areas, dust control alone can be a strong reason to hire out the work.
Why Richmond Homeowners Choose Buff & Coat
- 15 years in business
- Dustless sanding systems
- Local, owner-operated
- High-quality finishes
- Clear pricing and honest advice
- 5-star customer service
If you're weighing a small DIY repair against full refinishing, Buff & Coat Hardwood Floor Refinishing can help you figure out which one makes sense for your floor. Ready to restore your hardwood floors? Buff & Coat makes the process fast, clean, and stress-free. Call 804-392-1114 or request your free estimate at buffandcoatvirginia.com.