Wood Floor Installers in Woodvale, VA
Floors That Last, Installed Right the First Time
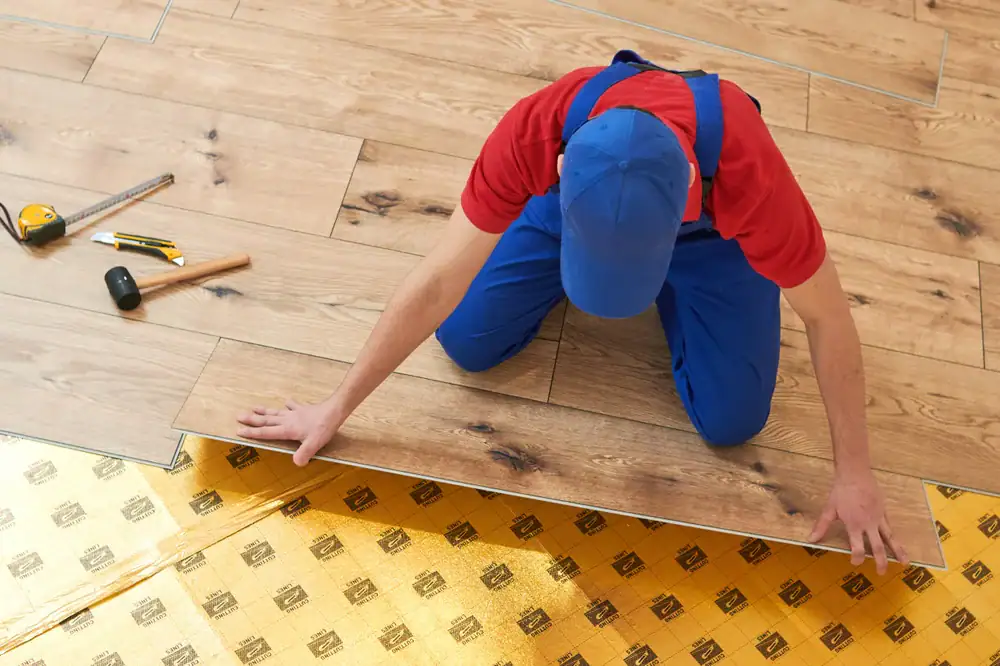
Hardwood Floor Installation in Woodvale
When your floors are installed correctly, you don’t think about them. They don’t creak when you walk across the room. They don’t gap in winter or buckle in summer. The finish stays even, the boards stay flat, and your home value goes up instead of sideways.
Most installation problems show up six months later. Boards that weren’t acclimated right start to crown. Expansion gaps that were skipped cause buckling against the baseboards. Subfloors that weren’t prepped correctly lead to squeaks you’ll hear for years.
You’re not just paying for someone to nail down planks. You’re paying for someone who knows how wood moves, how Virginia humidity affects different species, and how to prep a subfloor so it stays stable. That’s what separates a wood flooring contractor who knows the trade from someone just trying to get through the job.
Wood Flooring Contractor Serving Woodvale
We’ve been installing and refinishing hardwood floors across Woodvale, VA and the greater Richmond area for over 20 years. Dave Emmerling runs the operation, and he’s been in this trade long enough to know what works and what doesn’t.
This isn’t a crew that shows up, throws down some planks, and disappears. We understand how Central Virginia’s climate affects wood, how older homes in Woodvale settle differently than new construction, and how to match installation methods to your specific subfloor and layout.
Our work is backed by experience, proper licensing, and a dustless process that keeps your home cleaner than traditional sanding. Most projects wrap in a day, and the results hold up because the prep work was done right from the start.
Our Hardwood Floor Installation Process
First, the subfloor gets inspected. If it’s not clean, dry, and level, nothing else matters. We test moisture, sand down high spots, and address any soft spots before a single plank goes down.
Next, your hardwood gets acclimated to your home’s environment. This step takes time, but skipping it is the number one cause of installation failures. Wood needs to adjust to your home’s humidity levels, or it’ll expand and contract unpredictably after installation.
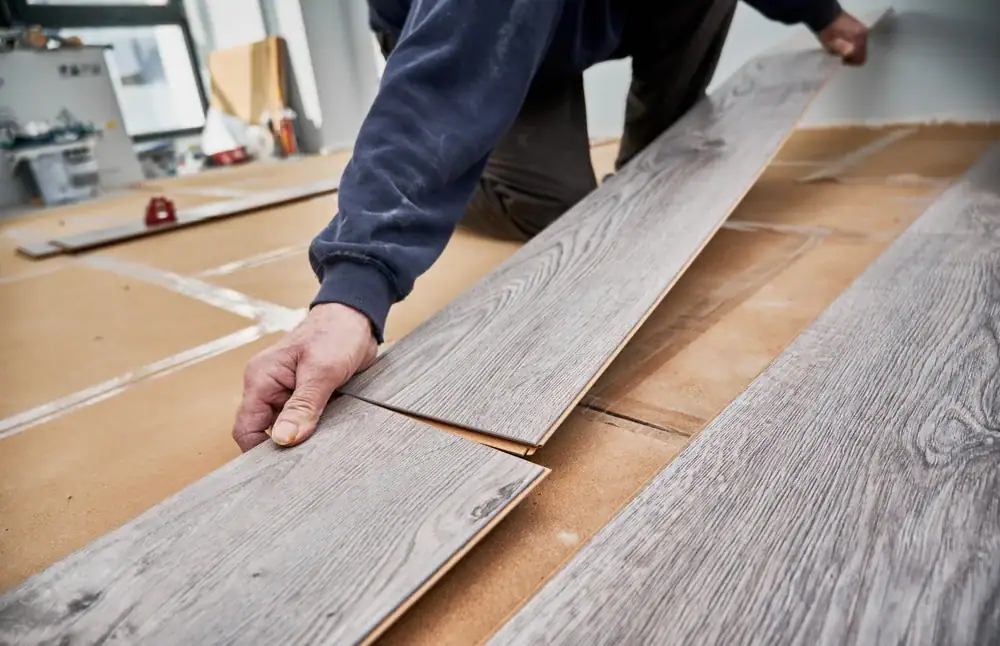
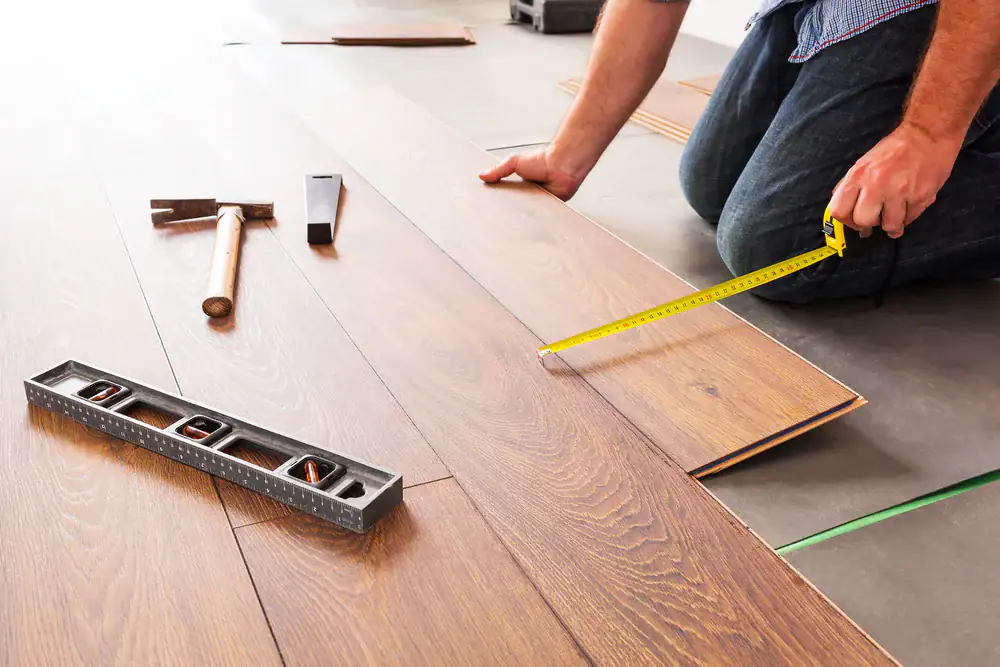
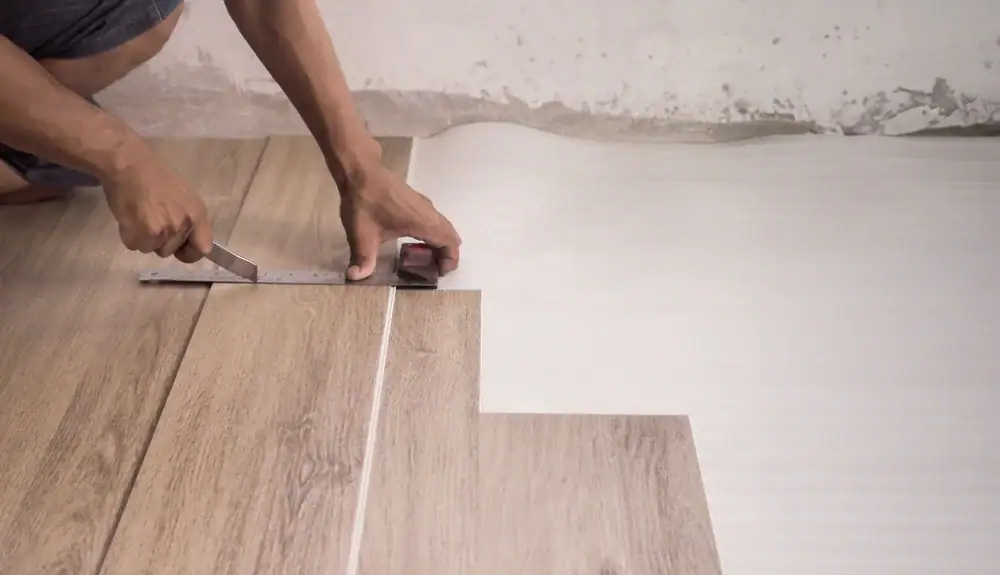
Then comes layout and installation. We position boards to minimize waste and maximize visual flow. Expansion gaps get calculated based on the wood species, your home’s humidity patterns, and the time of year. Fasteners go in at the right angle and depth so boards stay secure without splitting.
Finally, the finish goes on if you’re installing unfinished hardwood. If you’ve chosen prefinished, the floor gets a final inspection, edges get detailed, and you’re walking on it the same day. No lingering dust, no multi-day disruption, just finished floors that look right and stay right.
Solid Wood Flooring Installers Near Woodvale
You get a full subfloor assessment before anything else happens. That means moisture testing, level checks, and structural evaluation. If there’s an issue underneath, it gets flagged before installation starts, not after.
You get proper acclimation time for your wood. Depending on the species and current conditions in Woodvale, that might mean a few days or a full week. Rushing this step causes more callbacks than any other mistake, so we don’t rush it.
You get precision installation using the right methods for your floor type. Solid hardwood, engineered planks, and different wood species all require different approaches. Nail-down, glue-down, or float methods get chosen based on your subfloor and the product you’ve selected, not just what’s fastest.
Woodvale homes, especially older ones near the historic areas, often have subfloor quirks that newer construction doesn’t. Floors aren’t always level. Joists aren’t always evenly spaced. We adjust the approach to match what’s actually there, not what the textbook says should be there. That’s how you end up with floors that perform well in real-world conditions, not just ideal ones.
How long does hardwood floor installation take in a typical Woodvale home?
Most installations finish in one to three days, depending on square footage and complexity. A straightforward living room and hallway might wrap in a day. Whole-home installations with multiple rooms, transitions, and custom borders take longer.
Acclimation time adds to the timeline but happens before installation starts. Your wood needs to sit in your home for several days to adjust to the humidity and temperature. Skipping this causes boards to expand or contract after they’re installed, leading to gaps or buckling.
If your subfloor needs significant prep work, that adds time too. Leveling compound needs to cure. Moisture issues need to be resolved. But that prep work is what keeps your floors from failing six months down the road, so it’s time well spent.
What's the difference between solid and engineered hardwood installation?
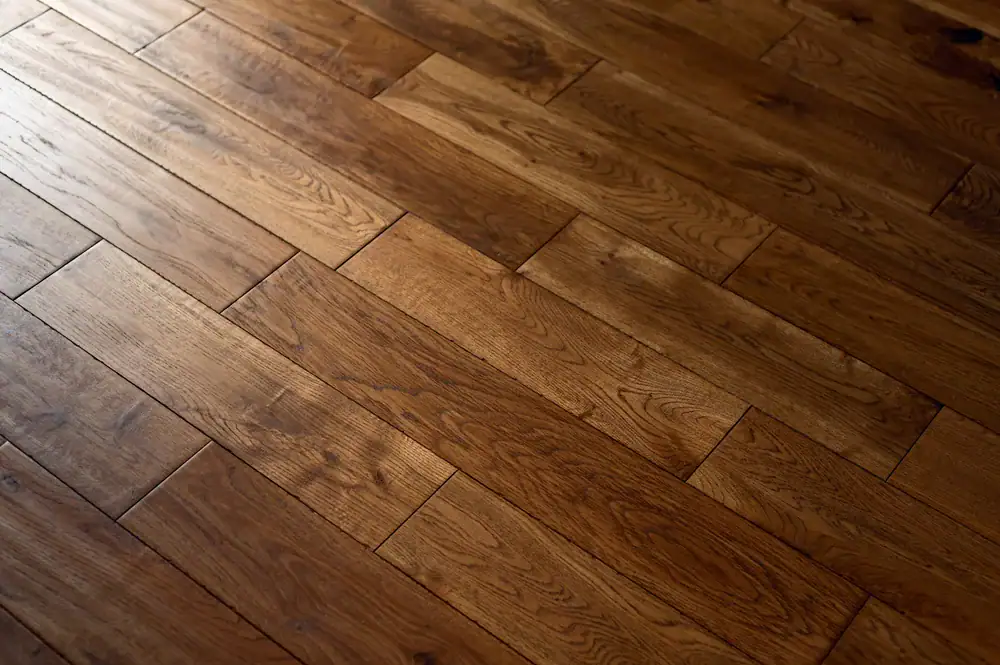
Solid hardwood is exactly what it sounds like—planks milled from a single piece of wood, usually three-quarters of an inch thick. It gets nailed or stapled down to a wood subfloor and can be refinished multiple times over its life. It’s the traditional choice and works great in most Woodvale homes, especially above-grade installations.
Engineered hardwood has a real wood veneer on top with layers of plywood or composite underneath. It’s more stable in humid environments and can be installed over concrete, in basements, or using floating methods. You can refinish it, but only once or twice depending on the veneer thickness.
Installation methods differ too. Solid hardwood almost always gets nailed down. Engineered can be nailed, glued, or floated, depending on the subfloor and product specs. Both look great when installed properly, but the choice depends on where you’re installing, your subfloor type, and how much refinishing flexibility you want down the road.
Can you install hardwood over my existing floor?
Sometimes, but it depends on what’s underneath and how level it is. Installing over existing hardwood is possible if the old floor is solid, flat, and firmly attached. Installing over vinyl or laminate usually isn’t recommended because those materials can shift or compress, causing the new floor to move.
Carpet and padding need to come out completely. There’s no scenario where installing over carpet makes sense. The subfloor underneath gets inspected once the carpet is removed, and any necessary repairs happen before new hardwood goes down.
Height transitions matter too. Adding another layer of flooring raises the floor level, which affects doorways, transitions to other rooms, and appliances. If the height difference creates tripping hazards or prevents doors from opening, the existing floor needs to come up. We evaluate all of this during the estimate, not halfway through the job.
How do I know if my subfloor is ready for installation?
Your subfloor needs to be clean, dry, flat, and structurally sound. Clean means no debris, adhesive residue, or old finishes that could interfere with fasteners or adhesive. Dry means moisture levels are within acceptable range for the hardwood species you’re installing—usually below 12% for the subfloor and within 4% of the hardwood’s moisture content.
Flat doesn’t mean perfectly level across the whole house. It means no dips or humps greater than 3/16 of an inch over a ten-foot span. High spots get sanded down. Low spots get filled with leveling compound. If the subfloor isn’t flat, your hardwood will rock, squeak, or show gaps along the edges.
Structurally sound means joists are solid, subfloor panels aren’t delaminating, and there’s no bounce or flex when you walk on it. Squeaky subfloors usually mean loose panels or inadequate fastening, which needs to be fixed before hardwood installation. These checks happen before installation starts, and any issues get addressed then, not after your new floors are down.
What happens if humidity levels change after installation?
Wood moves. That’s not a defect—it’s how the material behaves. When humidity rises in summer, wood absorbs moisture and expands. When humidity drops in winter, wood releases moisture and contracts. Proper installation accounts for this with expansion gaps around the perimeter and strategic placement of boards.
If your installer didn’t leave adequate expansion gaps, your floors can buckle when they expand. If the wood wasn’t acclimated properly before installation, it might shrink more than expected and create gaps between boards. Both problems are avoidable with correct installation techniques.
In Woodvale, humidity swings between seasons are significant enough that acclimation and expansion gaps aren’t optional. We know the local climate and build in the right tolerances from the start. You’ll still see minor seasonal movement—that’s normal—but you won’t see buckling, cupping, or gaps wide enough to catch debris.
Do you handle floor refinishing services if my existing floors just need help?
Yes. Not every floor needs replacement. If your existing hardwood is solid but worn, scratched, or faded, refinishing brings it back without the cost and disruption of full replacement. The process involves sanding down the old finish, repairing any damaged boards, and applying new stain and protective coating.
We specialize in dustless refinishing, which means less mess than traditional methods and faster completion. Most refinishing projects finish in a day, and the low-VOC products we use are safer for your family and pets.
Refinishing makes sense when the wood itself is still in good shape but the surface is tired. If boards are cupping, buckling, or extensively water-damaged, replacement might be the better option. An honest assessment during the estimate tells you which route makes sense for your floors and your budget. Sometimes a refinish gets you 90% of the way there for a fraction of the cost of new installation.