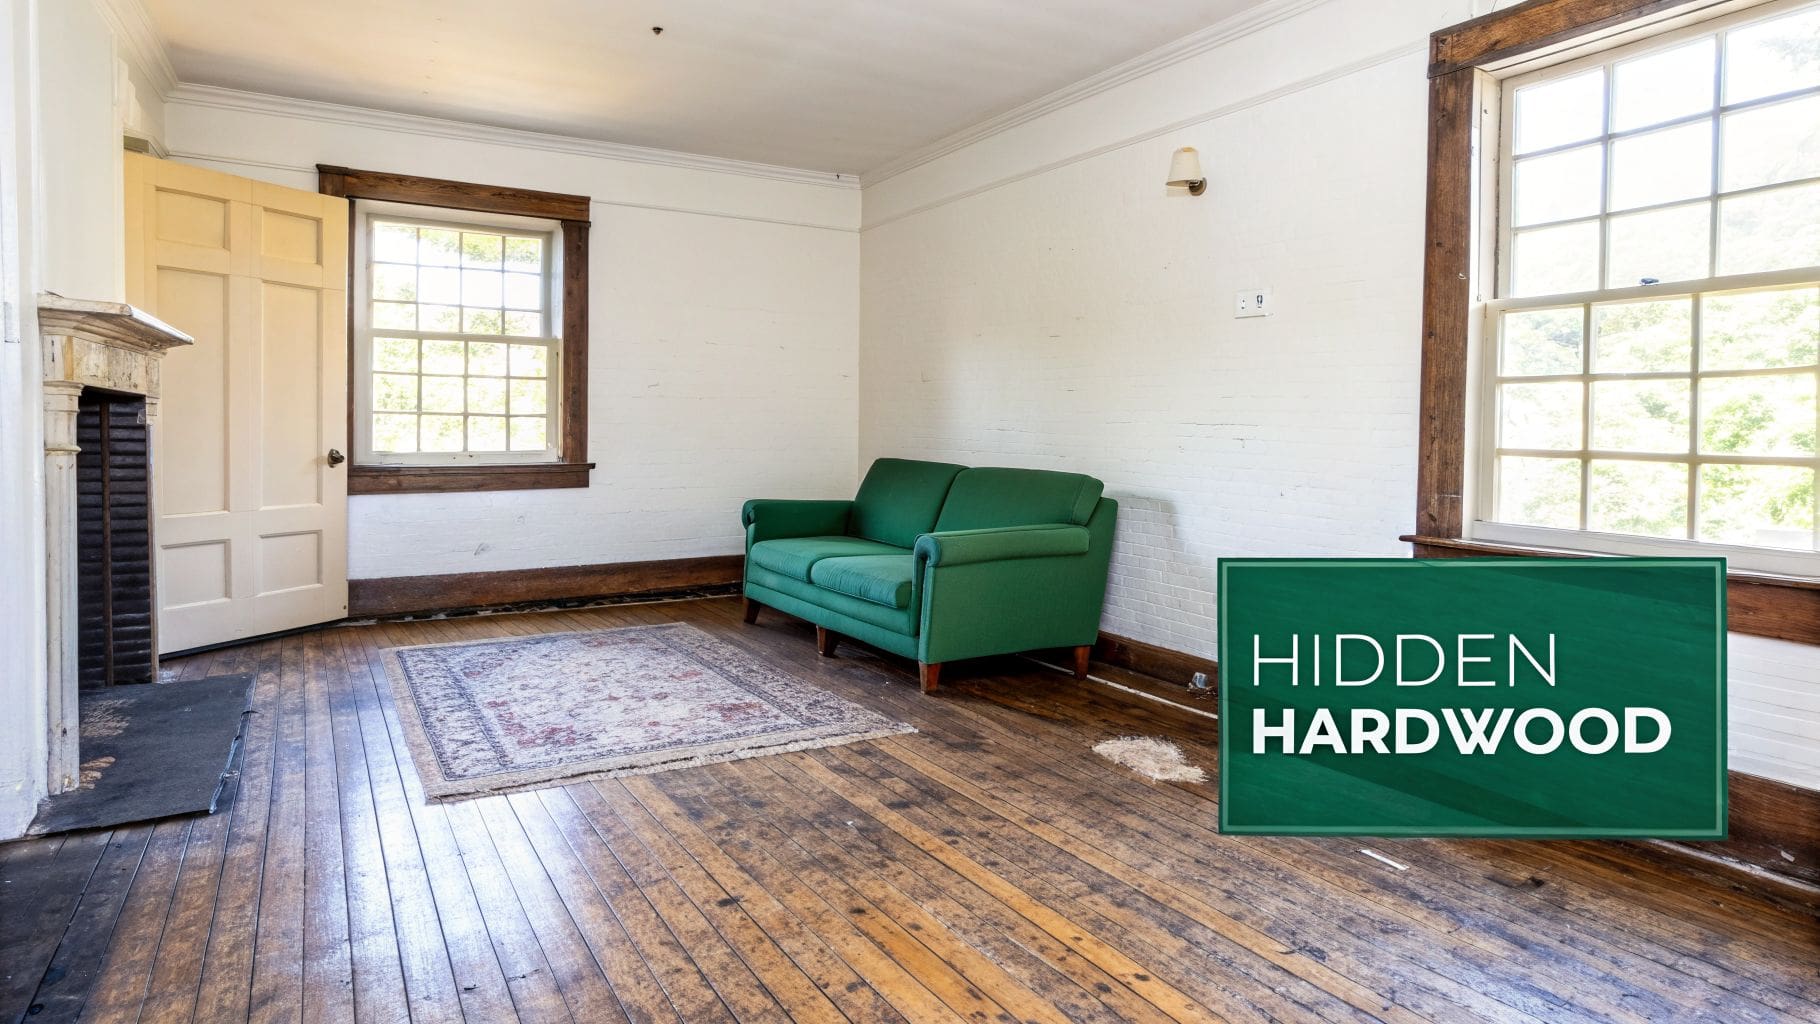
For many Richmond homeowners, pulling up old, stained carpet can feel like a gamble. But what if it’s a lottery ticket in disguise? Hiding right under that worn-out carpeting is often a real treasure: original hardwood floors, just waiting to be brought back to life. Making that discovery can completely transform a room, adding instant value and character to your home.
Why Uncovering Your Hardwood Floors Is a Smart Investment
Especially in historic Richmond neighborhoods like The Fan or in classic Chesterfield homes, original hardwood is a feature we see all the time. After 15 years of refinishing floors in the area, we’ve learned that decades of being covered by carpet can actually be a good thing—it often preserves the wood, protecting it from the worst wear and tear.
If you have old carpet, you already know the frustrations that come with it:
- Allergen Traps: Carpet is notorious for trapping dust, pet dander, and pollen, which can really affect your home's air quality, especially during Virginia’s pollen seasons.
- Stubborn Stains: After years of spills and foot traffic, you get those mystery stains that just won't come out.
- Constant Replacement Costs: It feels like a never-ending cycle. You replace worn-out carpet every few years, and it's always a disruptive and expensive project.
The Financial Sense Behind Carpet Removal
Think about it this way. Carpet is usually replaced every 8 to 10 years due to wear. Over 30 years of owning your home, you might pay for three full replacements. For a 1,000 sq ft space, that could easily cost you $9,000 to $33,000.
In contrast, the beautiful hardwood you find underneath can often be professionally refinished by a team like Buff & Coat for a fraction of that price, giving you an immediate boost in home equity and charm. A hardwood floor refinishing project is an investment that lasts for decades, not just a few years.
This guide will walk you through exactly how to remove carpet to reveal your hardwood floors. It’s packed with tips for the ambitious DIYer, but we’ll also give you our honest advice on when it’s time to call in a professional. Sometimes, the smartest part of any DIY project is knowing when to hand off the final, most crucial stage—the refinishing—to an expert who can guarantee a flawless result. For more tips on keeping your floors looking great, check out our guide on hardwood floor maintenance.
Getting Started: Your Carpet Removal Toolkit and Prep Work
Pulling up old carpet to reveal hardwood is one of the most satisfying DIY jobs out there. But as any seasoned pro will tell you, a successful project starts long before you rip up that first corner. Getting your tools and the room itself ready is the secret to avoiding headaches and protecting the beautiful floors hiding underneath.
Think of this as your practical game plan. A bit of thoughtful preparation now will make the physical work of removing carpet so much easier.
Essential Tools for Carpet Removal
You don't need a professional workshop to tackle this, but a few key tools are absolutely non-negotiable for doing the job right. We’ve put together a quick checklist of the must-haves based on our 15+ years of experience.
| Tool/Material | Primary Use | Pro Tip from Buff & Coat |
|---|---|---|
| Heavy-Duty Utility Knife | Cutting carpet into smaller, manageable strips. | Start with a fresh, sharp blade. A dull blade will tear the carpet backing and make your job ten times harder. |
| Locking Pliers (Vise-Grips) | Pulling thousands of staples from the padding and subfloor. | This is our #1 tip. They lock onto staple heads, letting you pull them out cleanly without snapping them off. |
| Pry Bar & Hammer | Removing the wooden tack strips around the room’s perimeter. | A flat pry bar (or "wonder bar") is best for getting underneath the strip without gouging the hardwood. |
| Quality Knee Pads | Protecting your knees during hours of staple pulling. | Don’t be a hero. Your future self will thank you for investing in a comfortable pair. |
| Work Gloves | Shielding your hands from sharp tack strips and staples. | Thick leather or heavy-duty fabric gloves are essential to prevent cuts and splinters. |
| Safety Glasses | Protecting your eyes from flying debris, dust, and staples. | Staples can fly when you pry them up. Always wear eye protection. |
While you can try to get by with regular pliers, they tend to slip or break staples, leaving tiny, frustrating metal bits stuck in your floor. Trust us on this one: a good pair of locking pliers will make this tedious part of the job go much, much faster.
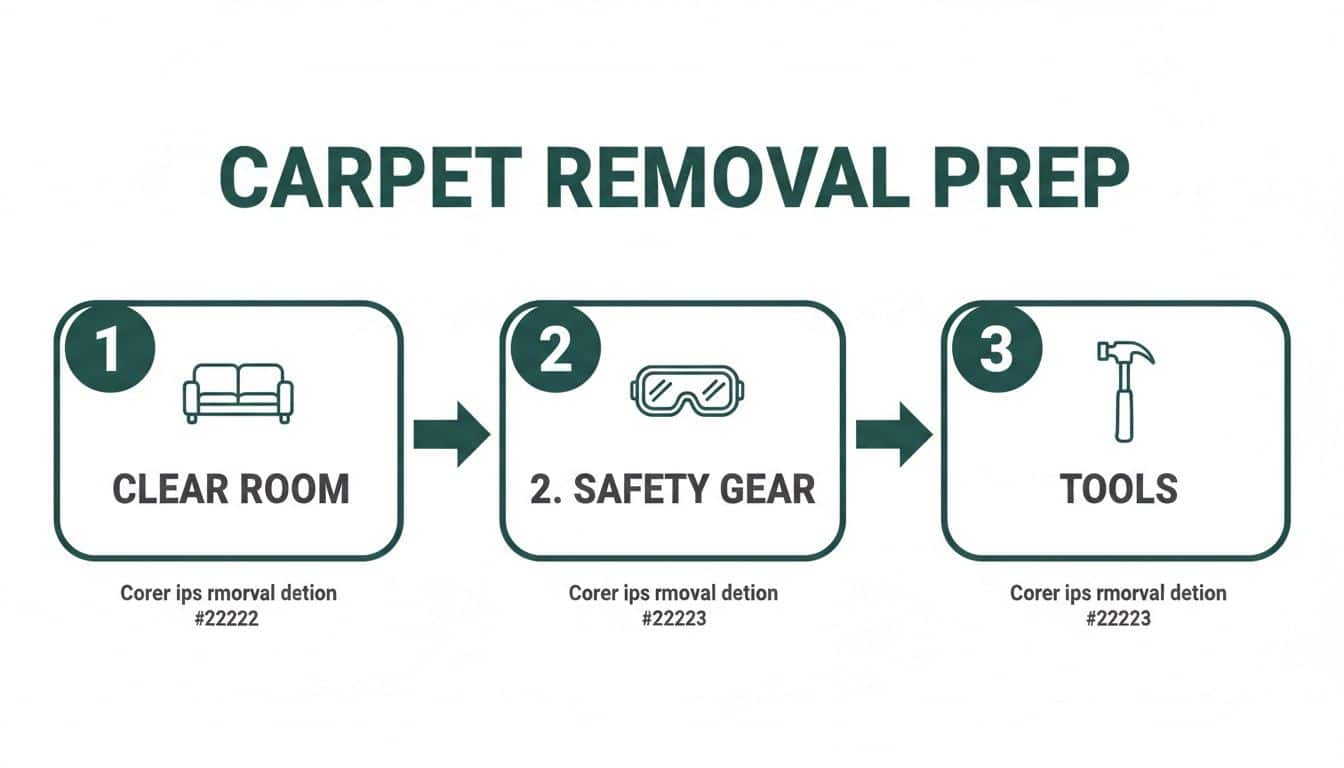
Preparing the Room for Removal
With your tools ready, the next step is to prep the space. This is all about creating a safe, clean, and efficient work area.
First things first: completely empty the room. All furniture, lamps, rugs, and decor need to be moved out. If you're short on space, looking into temporary renovation storage solutions can keep your belongings safe from the dust and chaos. It’s also a good idea to keep kids and pets out of the work zone until you're completely finished.
Next, think about ventilation and debris. You’d be shocked at how much dust, dirt, and grime is trapped in old carpet and padding. Open up the windows to get some fresh air circulating. You're going to end up with a big pile of old carpet, padding, and sharp tack strips, so have a plan for disposal. For a single room, you might get away with bagging it for trash day, but for a whole-house project, renting a small dumpster is a smart move.
For an even more detailed guide on prepping your space, check out our post on how to prepare your house for hardwood floor refinishing. Many of the same principles apply here.
Tearing Out Old Carpet and Padding: The Big Reveal
Okay, the room is empty, and you’ve got your gear ready. This is the moment of truth—the part where you finally pull back that old carpet and see what treasures (or challenges) lie beneath.
Getting started is pretty simple. Find a corner and get a good grip on the carpet with a pair of locking pliers. Give it a firm tug up and away from the wall. You’ll hear and feel it pop free from the tack strip. Once you’ve got a corner loose, the rest is just a matter of working your way around the room.
Tackling the Carpet Itself
Don't even think about trying to haul the entire carpet out in one piece. It's shockingly heavy and an absolute nightmare to manage. The pro move is to cut it into smaller, more manageable sections.
Using your utility knife, slice the carpet from the back side into strips about 3 feet wide. Cutting from the back is much easier and cleaner. As you free each strip, roll it up as tightly as you can and secure it with a few wraps of duct tape. Now you have a bundle you can actually carry.
And what do you do with all those rolls? Don't underestimate how much space old carpet and padding takes up. For anything more than a single small room, you might want to look into professional junk removal services to get it all off your property without a dozen trips to the dump.
Dealing with the Carpet Pad
With the carpet gone, you're left with the padding. This is where you’ll run into one of two scenarios:
- Stapled Padding: This is the best-case scenario and the most common. The pad itself will probably rip right up, but it’s going to leave a battlefield of staples behind. Hundreds of them. We’ll get to those in a bit.
- Glued Padding: If the pad was glued down, settle in. This is a much tougher job. You’ll need a floor scraper and a whole lot of elbow grease to pry it up inch by inch. The key is to work carefully to avoid gouging the hardwood underneath.
A Quick Word on Tricky Spots: Expect to slow down around doorways, inside closets, and especially on stairs. These areas are full of extra seams, cuts, and a boatload of fasteners. Stairs are notoriously difficult, with carpet often wrapped and stapled with incredible density.
Pulling up carpet can feel like a bigger project than you first imagined. If you lift a corner and discover a sea of old, stubborn glue or just feel overwhelmed by the work ahead, it’s a perfectly good time to press pause.
If you’re unsure whether your hardwood floors are salvageable, Buff & Coat can take a look and give you honest recommendations. Call 804-392-1114 or request a free estimate today.
Dealing with Tack Strips, Staples, and Glue
Alright, the carpet and padding are gone. Now comes the part that really tests your patience: getting rid of everything that held them down. You’re about to face off against tack strips, hundreds (sometimes thousands) of staples, and maybe even some stubborn old glue.
This is where your attention to detail is critical. Rushing this stage is the quickest way to damage the beautiful hardwood you’re trying to uncover. It isn't glamorous work—in fact, for a typical bedroom in a Midlothian or Glen Allen home, expect to spend several hours on your hands and knees. But doing it right is the only way to get a clean, smooth surface ready for a new finish.
How to Safely Remove Tack Strips
First up are the tack strips, those spiky wooden pieces running along the walls. They’re secured with long, stubborn nails, and just yanking them up will leave deep gouges in your floor.
Here’s the pro method for getting them out cleanly:
- Get the Right Leverage: Grab a small pry bar or a painter's 5-in-1 tool. Don't just pry from anywhere—place the tool right next to one of the nails holding the strip down.
- Protect Your Floor: This is crucial. Slide a thin piece of scrap wood or a putty knife under the pry bar. This simple trick acts as a buffer, spreading the pressure so your tool doesn’t dig into the hardwood.
- Work Methodically: Gently tap the pry bar under the strip with a hammer and apply slow, steady pressure upward. Loosen one nail, then move to the next. Don't try to rip the whole strip out in one go.
Conquering the Army of Staples
With the tack strips gone, you'll see what looks like an army of staples left behind from the carpet padding. This is where a good pair of locking pliers becomes your most valuable tool. Trust us, trying to use regular pliers will just snap the staples and double your frustration.
Pro Tip: Firmly grip the base of a staple with your locking pliers and clamp them shut. Then, simply roll the pliers to the side. This twisting motion pulls the staple out straight and clean, preventing it from breaking off in the wood. It’s a real time-saver.
Battling Stubborn Carpet Glue
If you were unlucky enough to discover glued-down padding, you've got a tougher fight on your hands. Start with a long-handled floor scraper, holding the blade at a low angle to avoid gouging the wood as you push.
If scraping alone isn't cutting it, you may need a heat gun to gently soften the adhesive before trying again. Whatever you do, never use harsh chemical strippers. They can seep into the wood grain and cause permanent stains or damage that even professional hardwood floor refinishing can't fix.
This part of the job is a true test of endurance. When you start weighing the hours of painstaking labor against the cost of professional help, the value becomes pretty clear. For a 1,000 sq ft home in Chesterfield or Hanover, DIY carpet removal alone could cost you up to $2,000 once you add up tool rentals and disposal fees.
By contrast, a wood floor recoating from Buff & Coat can completely renew your floors with a durable, beautiful finish that will outlast any carpet. If you want to see the numbers for yourself, you can learn more about the lifetime ownership cost of carpet vs. hardwood.
If this all sounds like more than you bargained for, that’s perfectly understandable. Buff & Coat is here to take over whenever you're ready. Give us a call at 804-392-1114 and let us handle the hard part for you.
What to Do After the Carpet Is Gone: Inspecting Your Hardwood Floors

Now for the moment of truth. With the carpet, padding, and staples all gone, you can finally see what you’re working with. This is your chance to play detective and figure out if you've uncovered a hidden gem or a project that needs a bit more muscle.
Give the entire floor a thorough vacuuming, then grab a damp cloth to wipe away that fine layer of dust that’s settled everywhere. To get a really good look, you’ll need a bright flashlight. Get down on your hands and knees, hold the light at a low angle to the floor, and slowly scan the wood, section by section. This trick makes every little imperfection pop.
Cosmetic Flaws vs. Serious Damage
Not all damage is a deal-breaker. Your main goal here is to separate the minor, surface-level issues from the more serious problems that might need a professional’s touch.
Here's a quick guide to what you might find:
- Surface Scratches: These are the light scuffs and scrapes that live in the top layer of the finish. They often look like faint white or gray lines and are extremely common. A simple buff and coat service can often fix these.
- Deep Gouges: You’ll know these when you see them. They’re deep enough to have broken through the finish, exposing the raw wood underneath. They're often caused by dragging heavy furniture or even from prying up stubborn tack strips.
- Pet Stains: These are the dreaded dark, black, or gray blotches. The ammonia in pet urine soaks deep into the wood fibers, often causing permanent discoloration that sanding can't always remove.
- Water Damage: Look for large, dark-stained patches, especially near windows, doors, or old radiators. You might also see that the edges of the boards are raised slightly—a classic sign of cupping.
- Pest Activity: Tiny, pin-sized holes or a fine, sawdust-like powder (called frass) are red flags for a past or present infestation of powderpost beetles or other wood-boring insects.
We’ve seen it all, and many homeowners are surprised to learn that what looks like a disaster is actually quite manageable. Minor scratches and a dull finish can often be fixed with a simple wood floor recoating, but deep stains and warping are signs you need a more powerful solution.
When to Call in the Pros for Sanding and Refinishing
If your inspection turns up widespread issues like deep gouges, dark stains, or warped boards, it’s time to seriously consider a full refinish. Here in our humid Virginia climate, it’s not unusual for moisture to get trapped under carpet and cause problems. In fact, some industry data suggests that around 15% of carpets in our area hide some form of moisture-related damage to the wood below.
The good news? Uncovering and restoring these floors is a huge win. Not only does it fix the problem, but it can dramatically improve your home’s air quality—refinished hardwood can reduce household allergens by over 50% compared to old carpeting. For real estate agents in Midlothian or property managers in Fredericksburg, revealing and restoring hardwood is a proven strategy. Some reports even show that homes with hardwood sell much faster.
A professional, dustless sanding process is the only surefire way to erase deep gouges, eliminate most dark stains, and flatten cupped or warped boards. Our guide on when to refinish hardwood floors can walk you through the decision-making process.
If you’re on the fence about what your floors truly need, don’t guess. Buff & Coat offers a no-obligation inspection to give you an honest, expert opinion on your floor's condition.
Richmond homeowners: get a fast, free quote for refinishing or recoating. Call 804-392-1114 or request your free estimate today for an expert assessment.
Why Richmond Homeowners Choose Buff & Coat
You’ve done the hard work—the carpet is gone, the staples are pulled, and the old glue has been scraped away. Now comes the final, most crucial step: bringing that hidden hardwood back to life. This is where expertise really matters, and it’s the stage where a DIY project can unfortunately go sideways.
For homeowners in Richmond, Midlothian, and across Central Virginia, this is where we come in. Partnering with a seasoned pro ensures your final result isn't just beautiful, but built to last.
For over 15 years, Buff & Coat has been the local, owner-operated team your neighbors trust. We don’t just work here; we live here. That means we understand the unique challenges that Richmond’s humidity and historic homes present for hardwood floors.
What Sets Our Service Apart
We’ve built our reputation on a simple foundation: honest advice, clear pricing, and a commitment to quality. You won’t get cheesy sales tactics or corporate jargon from us—just straightforward solutions that fit your home and your budget.
- Dustless Sanding Systems: Our advanced equipment is a game-changer. It captures over 99% of dust right at the source, keeping your home clean and your family safe from airborne particles during the hardwood floor refinishing process.
- High-Quality, Low-Odor Finishes: We only use professional-grade, low-odor and low-VOC finishes. These provide superior protection against scratches and wear without filling your home with harsh, unpleasant fumes.
- Local, Owner-Operated Expertise: As an owner-operated business, we are on-site for our projects. This ensures every single job meets our high standards and gives you the accountability you can only get from a dedicated small business.
- Clear Pricing & Honest Advice: We believe in upfront communication. We’ll explain your options clearly and provide a detailed estimate so you can make an informed decision with no surprises.
- 5-Star Customer Service: Our goal is to make the process easy and stress-free, from the first call to the final walkthrough. We treat your home with the care and respect it deserves.
Frequently Asked Questions About Carpet Removal and Floor Refinishing
Once the old carpet is gone, you’re left with a blank slate—and usually, a lot of questions. As Richmond’s go-to floor refinishers, we’ve heard them all. Here are the answers to the most common things homeowners ask us after they’ve done the hard work of pulling up their carpets.
How much does it cost to remove carpet and refinish hardwood?
This is always the first question, and the answer has two parts. The DIY carpet removal itself is fairly cheap—maybe a few hundred dollars for tool rentals and disposal fees. The real investment is in what you do with the floors next.
Hiring a professional for hardwood floor refinishing protects your home's value. While it costs more upfront than a DIY attempt, a flawless finish pays dividends. In fact, the National Association of Realtors reports that 54% of home buyers are willing to pay a premium for a house with hardwood floors. That’s a powerful return. To see a full cost breakdown, you can learn more about the cost of replacing carpet with hardwood.
Can I stay in my house during the refinishing process?
Yes, you absolutely can. We designed our Buff & Coat service specifically to cause as little disruption to your life as possible. Forget about the days of moving into a hotel to escape dust and fumes.
We use advanced dustless sanding equipment that captures almost every particle, keeping the air in your home clean and healthy. Paired with our low-odor, fast-drying finishes, the process is clean, quick, and lets you get back to enjoying your home right away.
What if I find major damage like deep pet stains?
First, don't panic. Uncovering old pet stains or water damage is incredibly common. The fix depends entirely on how deep the stain has soaked into the wood. For many surface-level discolorations, our dustless sanding process can simply remove the damaged layer of wood, erasing the stain completely.
If the damage has penetrated too deep to be sanded away, a targeted hardwood floor repair is the perfect solution. We can expertly remove the ruined planks and weave in new, matching boards so seamlessly you’ll never know they were there. As the best hardwood floor contractor in Richmond, we have the expertise to make these repairs invisible.
How long does the entire process take?
The timeline depends on the project's scope. A weekend is a realistic timeframe for a DIY carpet and staple removal in an average-sized room.
The professional refinishing that follows is much faster. A hardwood floor recoating (our Buff & Coat service) can often be completed in a single day. A full sand and refinish for a floor in rougher shape might take 2-4 days. We always provide a clear, realistic timeline before we start so you know exactly what to expect.
Ready to restore your hardwood floors?
Buff & Coat makes the process fast, clean, and stress-free. We are proud to offer the premier hardwood floor refinishing in Richmond VA.
Call 804-392-1114 or request your free estimate at buffandcoatvirginia.com.