Wood Floor Refinishing in Laurel, VA
Floors That Look New Without Replacing Them
Hardwood Floor Refinishing Near Laurel
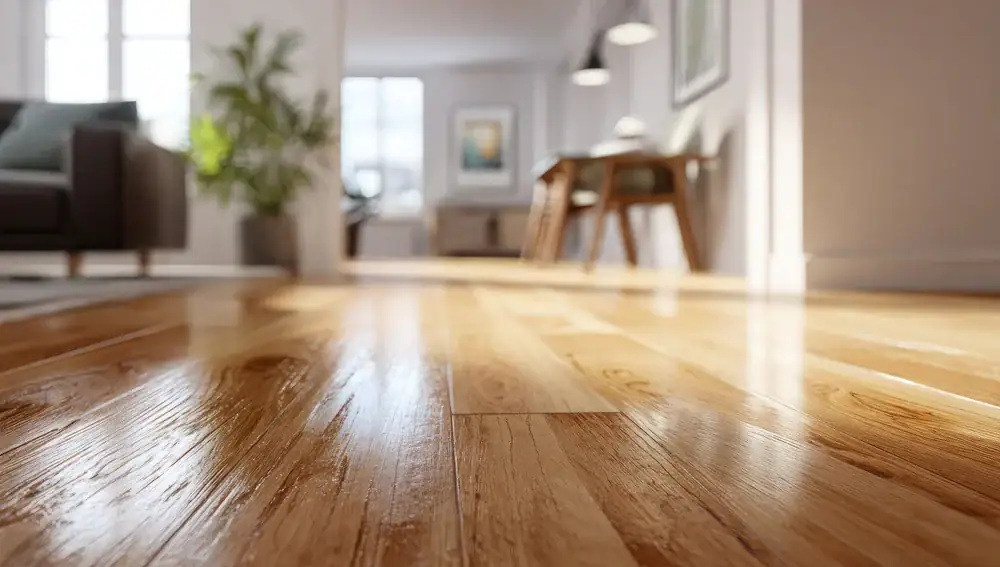
Scratches disappear. Dull surfaces turn glossy. The wood grain you forgot was there comes back to life.
That’s the visible part. Here’s what else happens: your home value increases by 3-5% on average. You get a 147% return on investment – meaning every $3,000 spent adds roughly $4,410 to your home’s resale value. If you’re planning to sell, refinished floors help your property move faster because buyers notice them immediately.
Beyond the numbers, you stop worrying about splinters catching socks or rough spots that collect dirt. The new finish seals the wood, which means fewer allergens trapped in cracks and easier cleaning overall. You’re not just making floors prettier – you’re making your home healthier and more functional.
Most Laurel homes were built between 1940 and 1999, which means the hardwood underneath your feet has decades of life left. Refinishing extends that lifespan without the waste or expense of tearing out perfectly good wood. It’s the smarter move for your wallet and the environment.
Laurel Hardwood Restoration Experts
We’ve been refinishing hardwood floors across Virginia for over 20 years. That’s long enough to know what works, what doesn’t, and what homeowners in Laurel actually care about when they’re deciding whether to refinish or replace.
Our team uses dustless sanding systems and modern finishing techniques that don’t turn your house into a construction zone. We’re not the cheapest option – and that’s intentional. You’re paying for technicians who know how to handle different wood species, older homes with uneven subfloors, and finishes that actually hold up to foot traffic.
Laurel sits in a market where the median home value is $272,300 and homeownership is just over 50%. That tells us you’re invested in maintaining what you own. We work with homeowners who want the job done right the first time, not the ones looking for shortcuts.
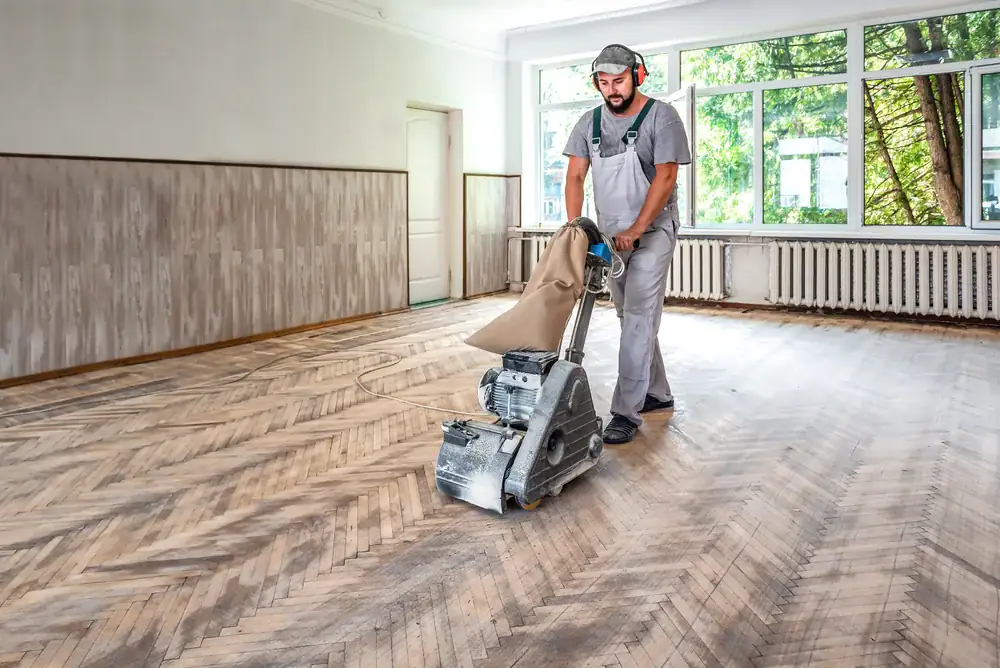
Wood Floor Sanding Process Explained
First, we move furniture out of the work area. If you need help with that, we can handle it – but most clients prefer to clear smaller items themselves before we arrive.
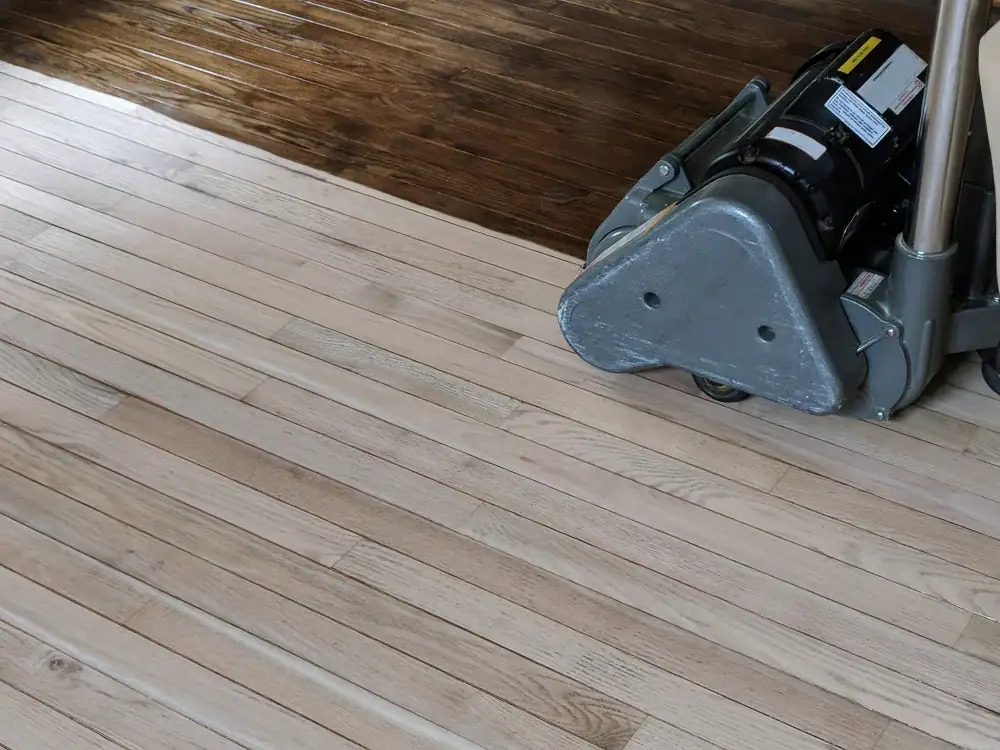
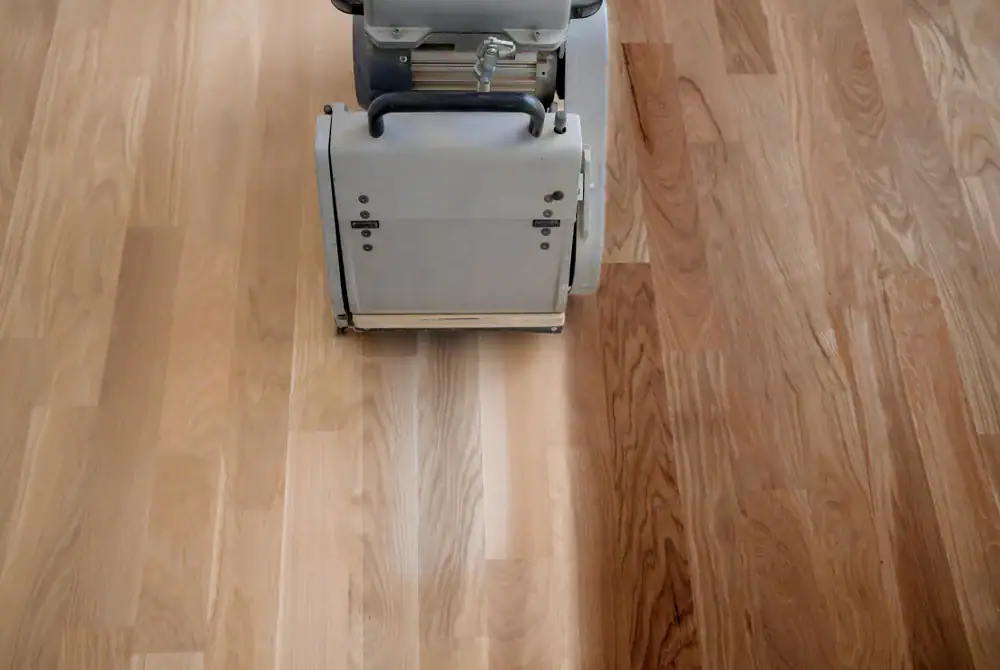
Next comes sanding. We use dustless equipment that captures 99% of the dust at the source, so you’re not finding powder on your countertops three weeks later. We start with coarse-grit sandpaper to remove the old finish and level out scratches, then move to finer grits for a smooth surface. This step reveals the raw wood and shows you what the grain really looks like.
After sanding, we apply stain if you want to change the color. If not, we go straight to the protective finish. Most jobs get two to three coats of polyurethane, with drying time between each coat. The finish is what protects your floors from scratches, spills, and daily wear.
Total time depends on square footage and how many rooms we’re doing, but most residential projects take three to five days from start to finish. You’ll need to stay off the floors during drying, but we’ll give you a clear timeline upfront so you can plan around it.
Buff and Coat Services Available
Every refinishing job includes a full inspection of your floors before we start. We check for loose boards, water damage, and structural issues that need fixing before sanding begins. If there’s a problem, we tell you upfront – not halfway through the job.
We handle solid hardwood and engineered wood refinishing, though engineered floors have limits on how many times they can be sanded depending on the veneer thickness. If your floors only need a refresh and the finish is still intact, a buff and coat might be all you need. That’s a faster, less invasive process that adds a new topcoat without sanding down to raw wood.
In Laurel, we see a lot of oak, maple, and cherry floors in homes built in the mid-20th century. These species sand beautifully and take stain well if you want to go darker or lighter. We also work with more exotic woods like Brazilian cherry or hickory, which require different techniques and finishing products.
You’ll get a clear estimate before we start, and we don’t charge extra for things like moving appliances or filling minor gaps between boards. The price we quote is the price you pay unless you change the scope of work midway through.
How much does it cost to refinish hardwood floors in Laurel?
Most refinishing projects in Laurel run between $3 and $5 per square foot, depending on the condition of your floors and whether you’re adding stain. A typical 1,000-square-foot area costs around $3,400, which is significantly less than the $5,500 average for installing new hardwood.
The price includes sanding, stain (if you want it), and multiple coats of finish. If your floors have deep gouges, pet stains that have soaked into the wood, or structural damage, those repairs add to the cost. We’ll point out any issues during the initial inspection so there are no surprises later.
Keep in mind that refinishing gives you a 147% return on investment. That means if you spend $3,000, you’re adding roughly $4,410 to your home’s value. It’s one of the few home improvements where you actually get back more than you put in.
How long does the refinishing process take from start to finish?
Plan on three to five days for most residential jobs. Day one is sanding. Day two is stain application if you’re changing the color. Days three through five are for applying and drying the protective finish coats.
Drying time is the biggest variable. Humidity and temperature affect how quickly polyurethane cures, so in Virginia’s more humid months, we might need an extra day between coats. We use fast-drying finishes when possible, but we won’t rush the process and risk a soft or tacky final product.
You can walk on the floors in socks after 24 hours, but we recommend waiting 72 hours before moving furniture back. Full cure time is about a week, so hold off on area rugs or heavy traffic until then. We’ll give you specific instructions based on the finish we use and the conditions in your home.
Can engineered hardwood floors be refinished like solid wood?
It depends on the thickness of the top veneer. Engineered floors have a thin layer of real hardwood over a plywood base, and that top layer can only be sanded so many times before you hit the plywood underneath.
Most engineered floors can handle one or two refinishing jobs if the veneer is at least 3mm thick. Anything thinner than that, and you’re better off with a buff and coat, which doesn’t remove as much material. We measure the veneer thickness during the inspection to confirm whether full refinishing is an option.
If your engineered floors have never been refinished and the veneer is thick enough, the process is nearly identical to solid hardwood. We sand carefully to avoid going too deep, then apply stain and finish just like we would on solid oak or maple. The end result looks the same – you just can’t refinish engineered wood as many times over its lifespan.
What's the difference between refinishing and a buff and coat?
Refinishing means sanding down to bare wood and starting over. Buff and coat means lightly scuffing the existing finish and adding a fresh topcoat. One is a full reset, the other is a refresh.
If your floors have deep scratches, stains, or you want to change the color, you need full refinishing. If the finish is just worn down in high-traffic areas but the wood underneath is still protected, a buff and coat saves time and money. It’s about half the cost and takes one to two days instead of five.
We recommend buff and coat every three to five years for floors that see heavy use. It keeps the protective layer intact and prevents you from needing a full refinish as often. Most hardwood floors need complete refinishing every seven to ten years under normal household conditions, but regular buff and coat treatments can stretch that timeline.
Will refinishing create a huge mess in my home?
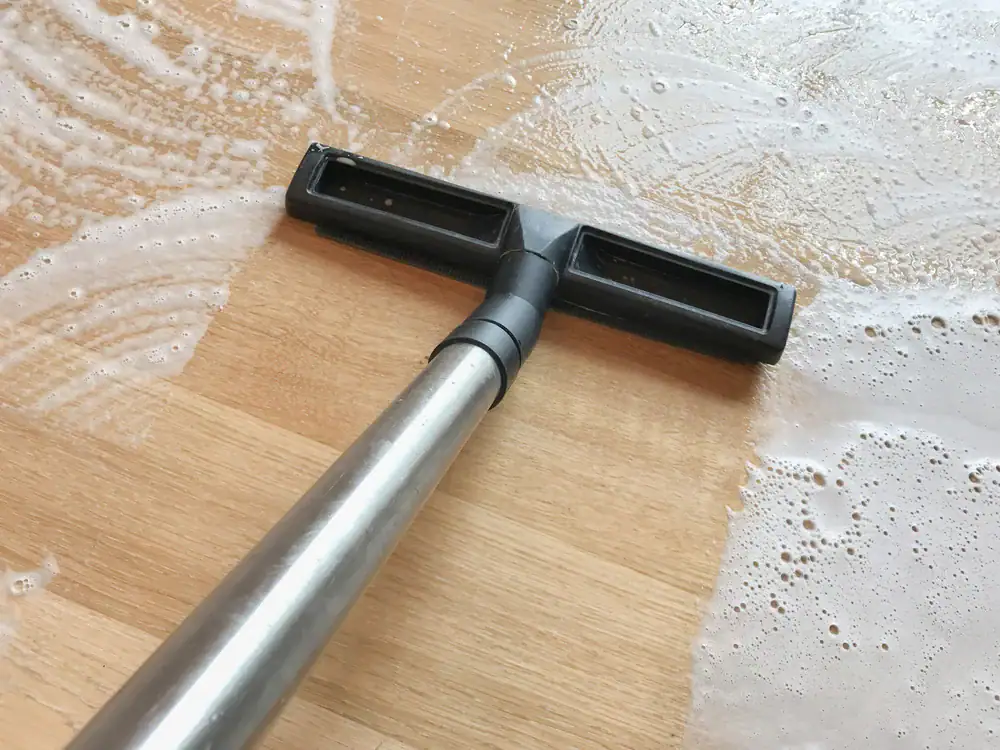
Not with dustless sanding equipment. We use machines that vacuum up 99% of dust at the source, so you’re not dealing with a layer of fine powder settling on everything in your house.
There’s still some prep work involved – we seal off doorways with plastic sheeting to contain any stray dust, and we ask that you remove smaller items from the room before we start. But the days of dust covering your kitchen counters and seeping into closets are over if you’re working with a crew that has modern equipment.
The smell from the finish is noticeable, especially with oil-based polyurethane. We recommend opening windows and running fans to ventilate the space. Water-based finishes have less odor but cost a bit more. Either way, the smell dissipates within a few days, and you’re not dealing with the kind of fumes that force you out of your house.
How do I know if my floors need refinishing or replacement?
If the damage is only in the finish layer – scratches, dullness, surface stains – refinishing fixes it. If the wood itself is rotted, warped, or has gaps wider than a quarter-inch, you might need replacement boards before refinishing makes sense.
Water damage is the main reason floors can’t be saved. If you’ve had flooding or long-term leaks that caused the wood to buckle or turn black, those sections need to come out. But isolated damaged boards can be replaced, and then the entire floor gets refinished to match.
We do a full inspection before quoting any job. If your floors are too far gone, we’ll tell you. But in most Laurel homes with original hardwood from the 1940s through 1990s, the wood is solid and just needs a good sanding and fresh finish. Those older floors were built to last, and refinishing brings them back without the cost of tearing out and replacing perfectly good material.