Why Buffing Timber Floors Matters
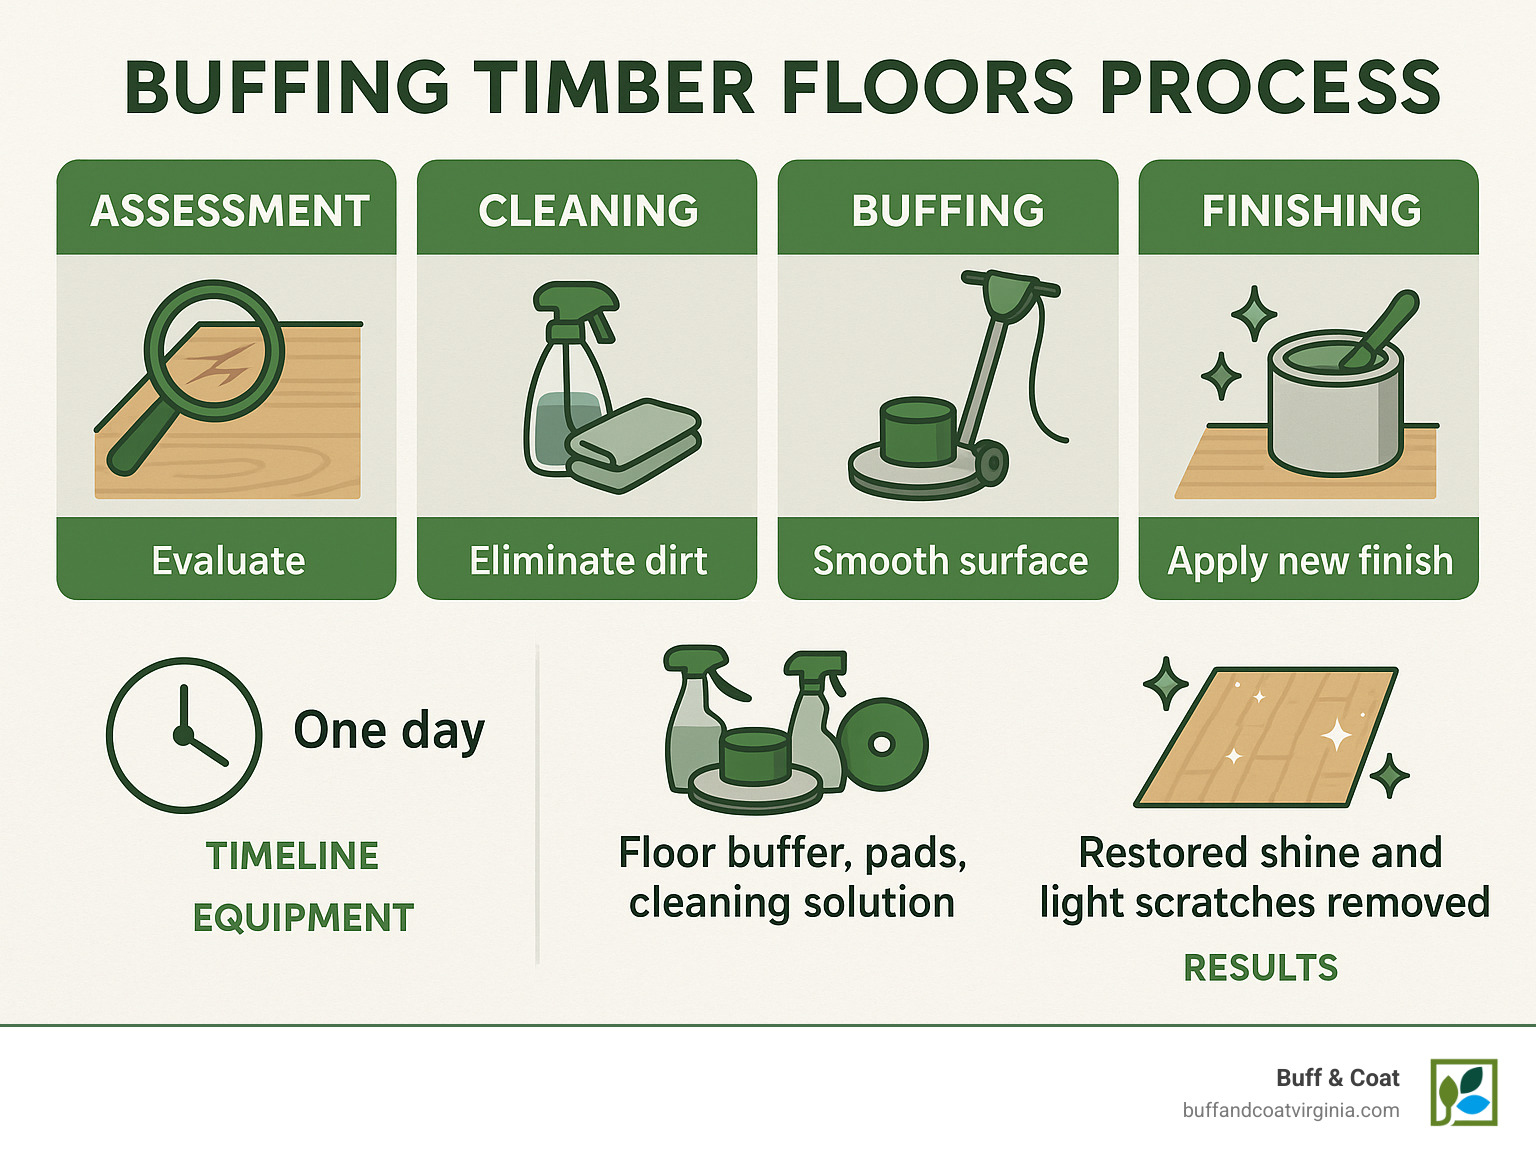
Buffing timber floors is a cost-effective way to restore shine and remove light scratches without the mess and expense of full sanding. Here’s what you need to know:
- Purpose: Refreshes the protective finish layer without removing wood
- Best for: Minor scratches, scuffs, and dull areas
- Equipment needed: Floor buffer, appropriate pads, cleaning solution
- Average cost: $1-$2.50 per square foot professionally, $50-$100 DIY
- Typical timeframe: One day completion for most homes
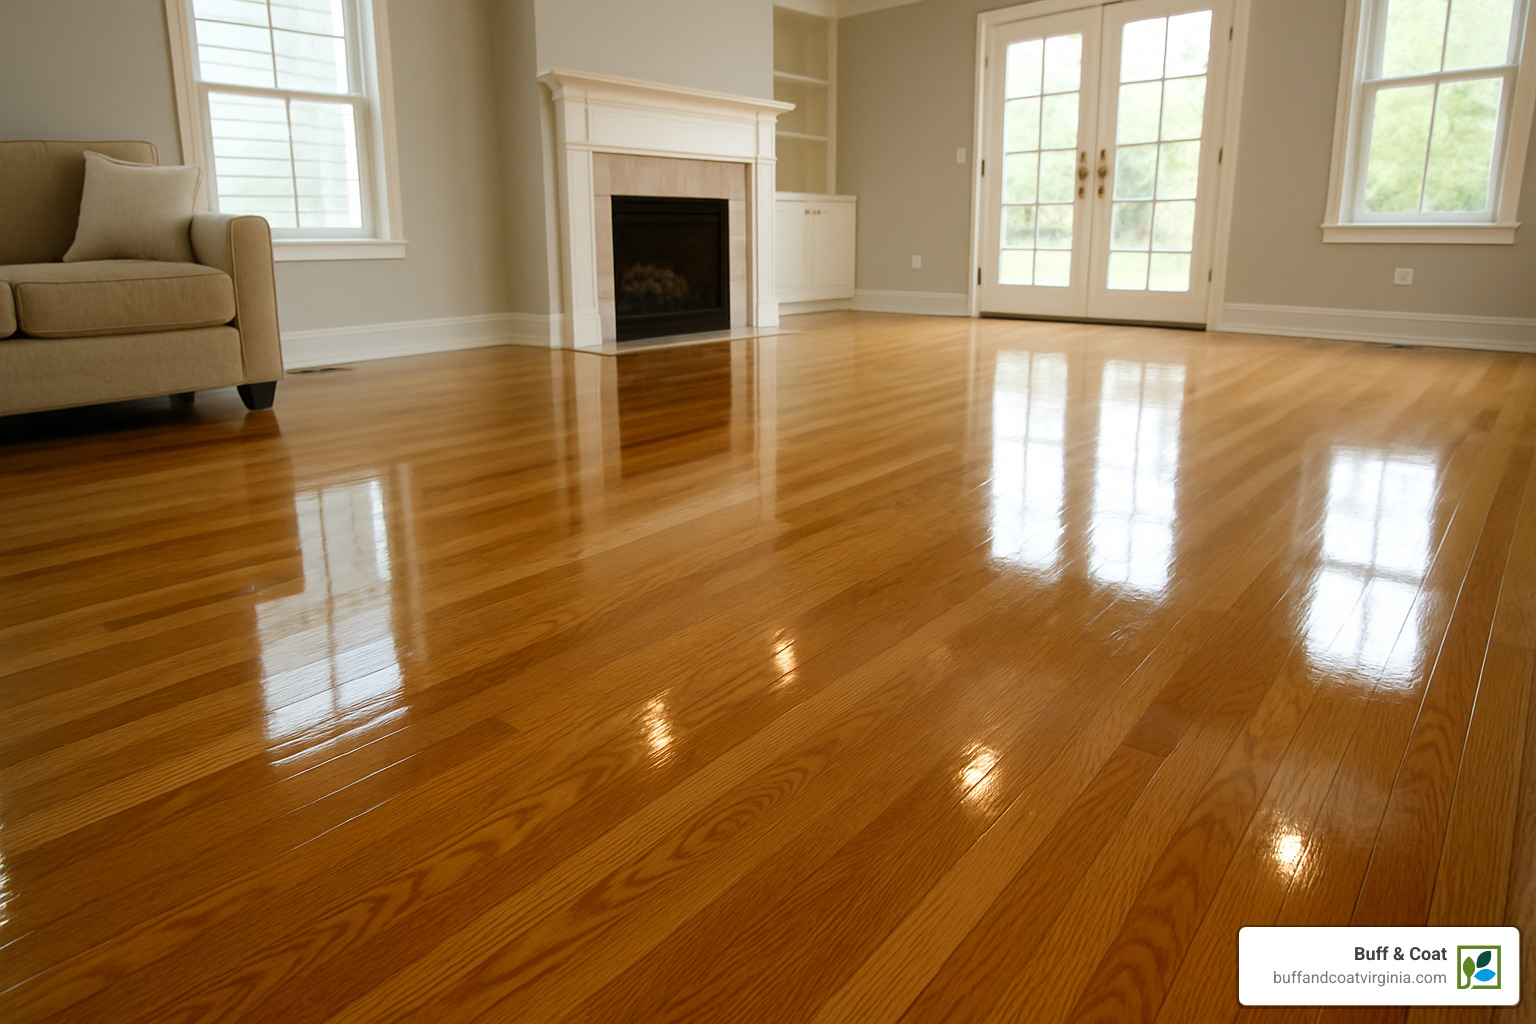
When your hardwood floors have lost their luster but don’t have deep damage, buffing offers the perfect middle ground between regular cleaning and complete refinishing. Think of it as an exfoliating treatment that smooths out imperfections in the finish layer while leaving the wood itself untouched.
Unlike sanding, which strips away both finish and a thin layer of wood, buffing only addresses the surface protective coating. This makes it ideal for maintaining floors with light wear and extending the time between more invasive refinishing projects.
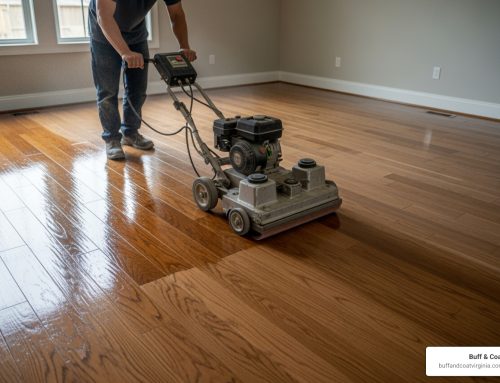
The process involves using a rotary buffer machine that spins at up to 1,000 RPM to gently abrade the top layer of finish, removing minor imperfections and creating a smooth surface for a new coat of protective sealant.
I’m David Emmerling, founder of Buff and Coat Hardwood Floor Refinishing in Richmond, Virginia, with over two decades of experience specializing in dustless buffing timber floors that restore beauty without the disruption of traditional sanding methods.
Buffing vs Sanding: The Basics
When it comes to maintaining your beautiful hardwood floors, understanding the difference between buffing and sanding is crucial. Think of your floor like your favorite leather jacket – sometimes it needs a light polish, and other times it needs more serious restoration.
Buffing timber floors (also known as screening or a screen-and-recoat) is like giving your floors a facial treatment. It’s a gentle process that only works on the surface finish layer, not the wood itself. The buffer uses a fine abrasive pad that spins in a rotary motion, creating tiny scratches in your existing polyurethane finish. These micro-scratches aren’t visible to the naked eye, but they create the perfect texture for a fresh coat of finish to grip onto.
Sanding, by contrast, is more like surgery for your floors. It cuts deeper, removing not just the finish but also a thin layer of the actual wood beneath. This more invasive approach becomes necessary when your floors have suffered deeper damage or when you’re looking to completely transform their appearance.
| Feature | Buffing | Sanding |
|---|---|---|
| Depth of treatment | Surface finish only | Removes finish and wood layer |
| Equipment | Floor buffer with screening pad | Drum sander, edger, buffer |
| Dust production | Minimal | Significant (unless using dustless system) |
| Time required | Usually 1 day | 3-5 days typically |
| DIY difficulty | Moderate | High |
| Cost | $1-$2.50/sq ft professional | $3-$8/sq ft professional |
| Best for | Minor scratches, dullness | Deep scratches, stains, color change |
| Frequency | Every 3-5 years | Every 7-10 years |
How Buffing Protects Timber Floors
Buffing timber floors isn’t just about making them pretty – it’s preventative medicine for your hardwood investment. Here in Richmond, where we see everything from humid summers to occasional winter storms, regular buffing offers several key benefits:
Minor-scratch removal is perhaps the most immediate benefit. Those little marks from chair legs or pet claws disappear with a good buff, preventing them from deepening over time. Finish refresh is another significant advantage – buffing revitalizes the protective polyurethane layer that shields your wood from spills and daily wear. Most importantly, buffing provides lifespan extension for your floors, potentially adding years or even decades before a full refinishing becomes necessary.
I’ve seen Richmond homes where regular buffing has kept original hardwood floors looking beautiful for generations – truly a testament to how effective this simple maintenance can be.
When Sanding or Full Refinishing Is Unavoidable
While we at Buff & Coat prefer the less invasive approach of buffing timber floors, sometimes your floors need more intensive care. Here’s when you should consider sanding instead:
When deep gouges cut through the finish into the wood itself, buffing simply won’t reach deep enough to address the damage. Similarly, if you have bare wood spots where the finish has completely worn away (common in high-traffic areas like entryways), these areas need sanding before refinishing.
If you’re looking for a color change in your hardwood, sanding is necessary to remove the existing stain so a new one can be applied. And structural issues like warped boards or cupping (often caused by moisture problems) require sanding to restore a level surface.
Not sure which approach your floors need? We offer free assessments to Richmond and Glen Allen homeowners. Our experts can evaluate your specific situation and recommend the most appropriate and cost-effective treatment for your beloved hardwood floors. For more information about our dust-free buff and coat service, just give us a call!
Buffing Timber Floors: Tools, Prep & Step-by-Step Technique
Giving your hardwood floors a beautiful refresh through buffing timber floors doesn’t have to be complicated. With the right tools and approach, you can bring back that showroom shine without the major disruption of full sanding. Let me walk you through everything you’ll need and how to get professional results.
Essential Equipment
The heart of any floor buffing project is, of course, the buffer itself. You’ll typically choose between a rotary buffer (more powerful but requires a steady hand) or an orbital buffer (more forgiving for DIYers). Most Richmond homeowners find renting equipment from local hardware stores for about $50 per day makes more sense than purchasing.
Your buffer needs the right pads to do its job properly. Think of these colored pads as different grades of sandpaper – black or brown pads tackle tougher jobs, green or blue handle standard buffing, while white or tan deliver that final polish. You’ll also need screening discs (typically 100-120 grit) that attach to the buffer to create the perfect surface for new finish.
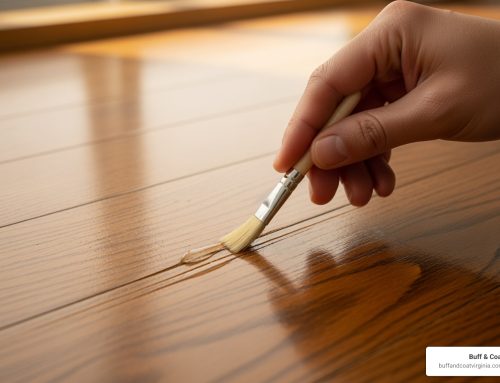
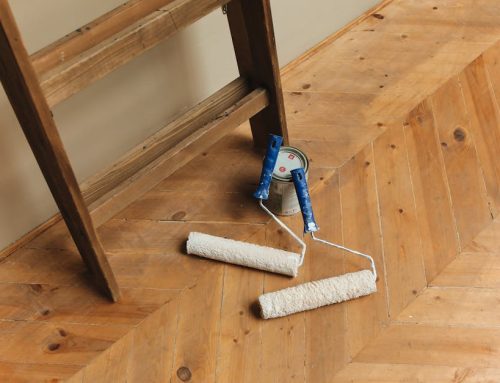
Don’t forget the cleaning essentials – a good vacuum, mop, and microfiber cloths will be your best friends before and after buffing. For the finishing touch, you’ll need water-based polyurethane (most common in homes) and an applicator like a lambswool pad or T-bar.
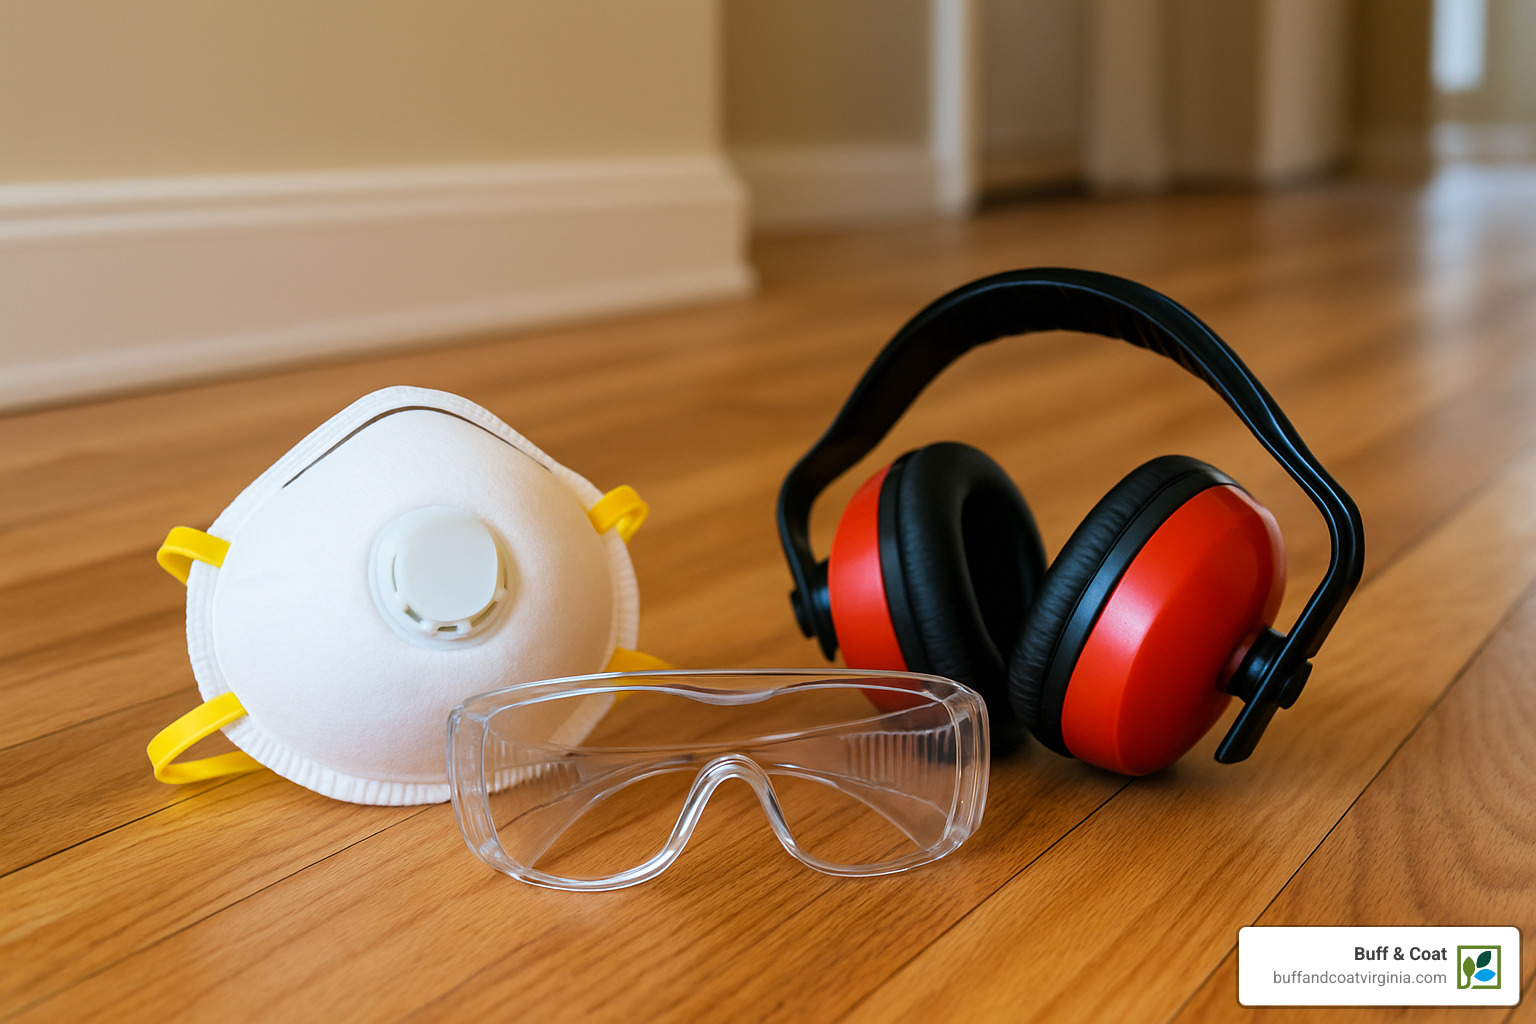
Safety should never be an afterthought. Protect yourself with a dust mask or respirator, safety glasses, hearing protection, and knee pads. Your body will thank you the next day!
Preparing a Room for Buffing Timber Floors
The secret to professional-looking results when buffing timber floors often lies in thorough preparation. Start by completely clearing the room of furniture – partial buffing leads to noticeable differences in sheen that will drive you crazy later.
Next comes deep cleaning. Sweep away loose debris, vacuum with a hard floor attachment, and follow with a damp mop using a hardwood floor cleaner. Give the floor plenty of time to dry completely – usually 2-3 hours. This is the perfect time to address any minor repairs like setting protruding nails or filling small gaps with wood filler.
Environmental conditions matter more than you might think. Aim for 35-55% relative humidity for optimal finish curing. Take a moment to protect adjacent areas by taping off vents (this prevents dust circulation), covering doorways with plastic sheeting, and removing or covering window treatments.
Before going all-in, do a quick test in an inconspicuous spot by applying a small amount of mineral spirits. If it becomes gummy, your floor has a wax finish that needs special treatment before buffing can begin.
At Buff & Coat, our preparation process for Richmond homes typically takes 1-2 hours depending on the space, but this attention to detail ensures truly dust-free, professional results.
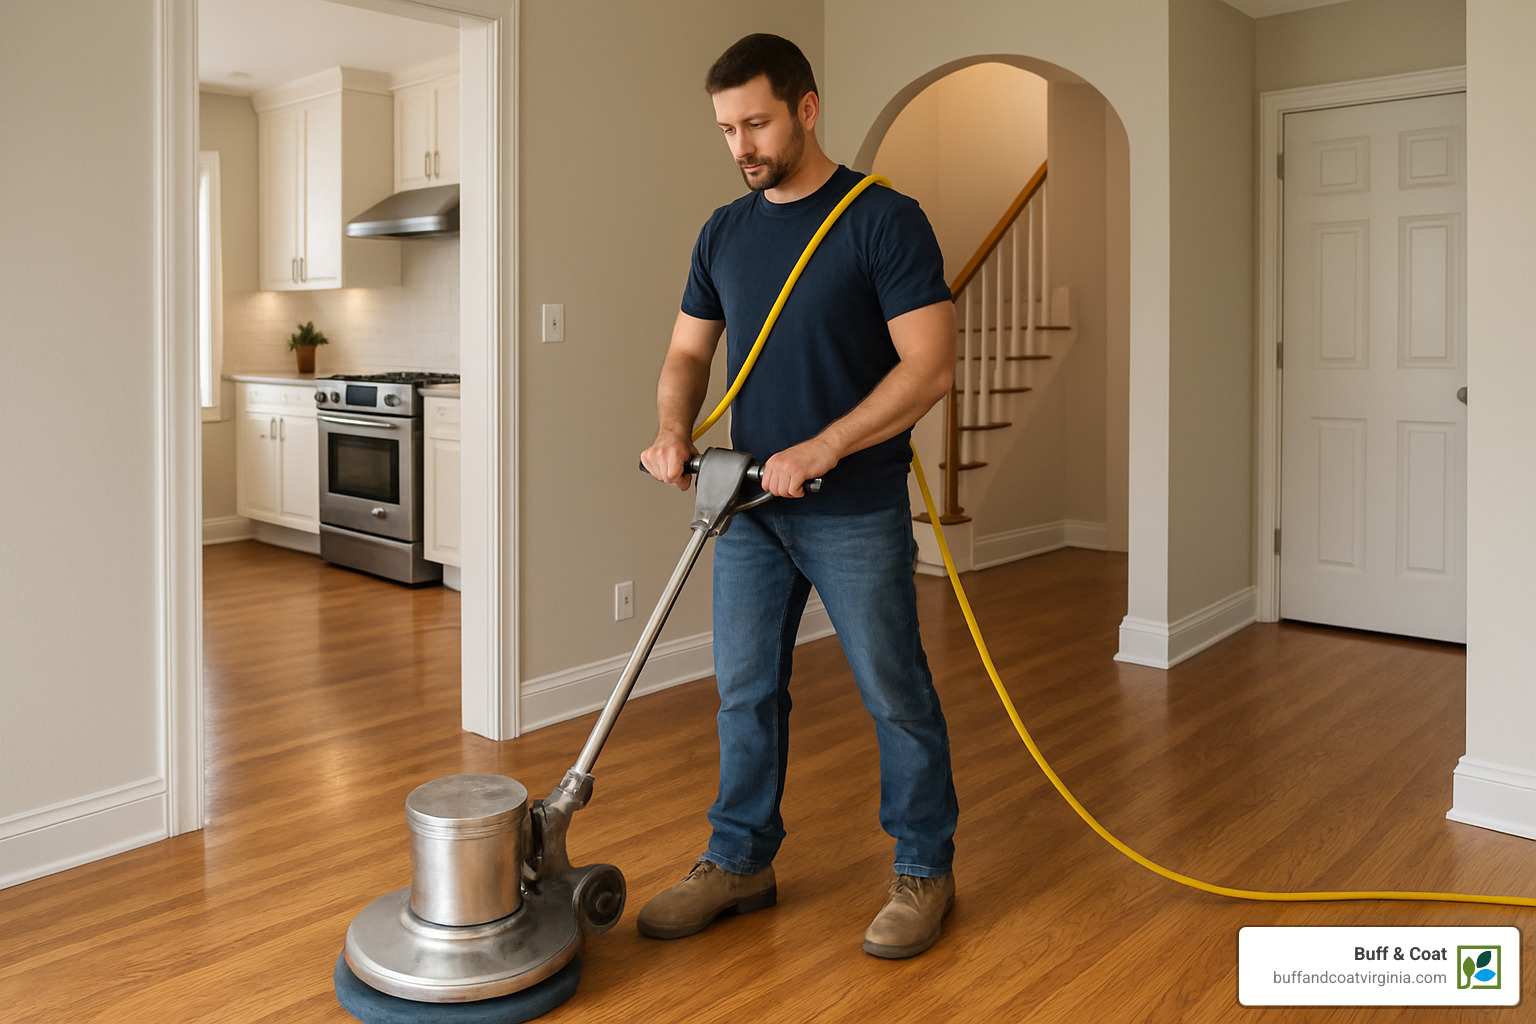
Machine Setup & Movement Patterns for Buffing Timber Floors
Handling a floor buffer properly is what separates amateur results from professional ones when buffing timber floors. Start by adjusting the handle to sit slightly above your belt line – this gives you the best control. Attach your pad firmly to the drive plate, and here’s a pro tip: sling the power cord over one shoulder to keep it safely away from the buffer.
Your stance matters tremendously. Position yourself perpendicular to the machine with feet shoulder-width apart for stability. Begin in the corner farthest from your exit door so you won’t have to walk across freshly buffed areas.
For beginners, working in manageable 5′ x 5′ sections builds confidence before tackling larger areas. Maintain a 90° buffing angle for optimal coverage, and control the buffer’s direction through subtle handle movements – dip slightly to move right, raise slightly to move left.
Consistency is key to professional results. Each pass should overlap the previous by about 50%, and keep that buffer moving steadily – lingering in one spot is the fastest way to create unsightly swirl marks. Let the weight of the machine do the work rather than applying extra pressure, and remember to change pads regularly as they become clogged with finish or debris.
Addressing Edges, Corners & Stairs
Standard buffers can’t reach everywhere, so you’ll need special approaches for those tricky spots when buffing timber floors. For edges and corners, you have a few options. Hand buffing with a sanding block (using the same grit as your buffer pad) works well for smaller areas. Larger projects might justify renting a specialized edge buffer. Whatever method you choose, focus on feathering the transition between hand-buffed and machine-buffed areas by gradually lightening pressure as you approach edges.
Stairs present their own challenges. A detail sander works beautifully for stair treads, while wider treads might accommodate a small buffer if there’s enough space. Risers and nosing typically require careful hand buffing. Work methodically, completing one stair at a time and moving from top to bottom for best results.
At Buff & Coat, we’ve invested in specialized equipment specifically designed for these challenging areas. This ensures we deliver a perfectly uniform finish throughout homes in Richmond and Glen Allen, regardless of architectural complexity. The difference shows in those fine details that homeowners notice every day.
If you’re considering refreshing your hardwood floors, we’d be happy to provide a free estimate for your Richmond or Glen Allen home. Just give us a call to schedule an appointment with our floor buffing experts at Buff & Coat.
Pro Tips, Safety & Common Mistakes to Avoid
After buffing timber floors for thousands of Richmond homeowners, we’ve identified key professional techniques and common pitfalls to avoid:
Professional Techniques
-
Maintain a steady pace: Moving too quickly leaves areas under-buffed; too slowly can over-buff and damage the finish.
-
Keep the machine balanced: An unbalanced buffer creates uneven results and is harder to control.
-
Use fresh pads: A worn or clogged pad loses effectiveness and can leave swirl marks.
-
Check your work with raking light: Use a flashlight held at a low angle to spot any missed areas or inconsistencies.
-
Work with the grain: Whenever possible, buff in the direction of the wood grain for best results.
-
Vacuum between steps: Remove all dust before applying finish to prevent a gritty surface.
Safety Precautions
Safety is paramount when buffing timber floors. Always:
-
Ensure proper ventilation: Open windows and use fans to circulate air.
-
Wear appropriate PPE:
- Dust mask or respirator to prevent inhalation of fine particles
- Safety glasses to protect eyes from debris
- Hearing protection against buffer noise
-
Non-slip footwear for better control
-
Check electrical safety:
- Inspect cords for damage
- Use grounded outlets
- Keep cords away from water
-
Never operate with wet hands
-
Control the machine: Never let go of a running buffer – it can “run away” and cause damage or injury.
-
Turn off when not in use: Never leave a running buffer unattended.
Common Mistakes to Avoid
-
Insufficient cleaning: Buffing a dirty floor grinds dirt into the finish, creating scratches.
-
Using the wrong pad: Too aggressive a pad damages the finish; too fine a pad won’t create enough abrasion.
-
Inconsistent overlap: Failing to overlap passes creates visible lines in the finish.
-
Rushing the process: Proper buffing takes time – rushing leads to poor results.
-
Applying too much pressure: Let the weight of the machine do the work; extra pressure causes uneven buffing.
-
Neglecting edges: Failing to properly address edges creates an unprofessional appearance.
-
Applying finish too soon: Not removing all dust after buffing results in a rough finish.
-
Working against the grain: Buffing perpendicular to the grain can create visible scratches.
Post-Buff Care, Frequency & Costs in Richmond, VA
After buffing timber floors, your newly refreshed surfaces deserve proper care to maintain that beautiful shine. As Richmond homeowners ourselves, we understand the unique challenges our local climate presents for hardwood maintenance.
Aftercare for Buffed Floors
Give your freshly buffed floors time to fully cure before bringing life back into the room. Depending on the finish product and our sometimes unpredictable Virginia humidity, this typically means waiting 24-72 hours before replacing furniture. When you do, make sure to attach felt pads to all furniture legs – this simple step prevents those heartbreaking scratches that can quickly undo your floor’s renewed beauty.
Your cleaning routine makes all the difference in maintaining that fresh-buffed look. A daily once-over with a dust mop keeps abrasive particles from scratching your finish. Weekly, use a slightly dampened microfiber mop with a proper hardwood cleaner (we recommend Bona Hardwood Floor Cleaner for its residue-free formula). Monthly, take a moment to inspect high-traffic areas for early signs of wear.
Richmond’s seasonal humidity swings can be tough on hardwood. Maintaining indoor humidity between 35-55% prevents the expansion and contraction that can prematurely age your finish. Consider using a humidifier in winter and dehumidifier during our muggy summers.
Strategic placement of area rugs in entryways and hallways provides extra protection where feet travel most, but avoid rubber-backed mats that trap moisture against your beautiful floors. And remember – prompt attention to spills is crucial, as even water can damage wood if left standing.
How Often Should You Buff?
The ideal buffing timber floors schedule isn’t one-size-fits-all for Richmond homes. Your family’s lifestyle plays the biggest role in determining frequency.
Homes with active families including children and pets typically benefit from buffing every 2-3 years. The pitter-patter of little feet (and paws) creates more micro-scratches in your finish layer. Meanwhile, empty-nesters or vacation homes might stretch 3-5 years between buffing sessions.
Pay special attention to high-traffic zones like entryways and kitchens, which might need more frequent attention – sometimes annually if they’re showing significant wear. The finish type matters too; some modern polyurethanes offer exceptional durability compared to traditional options.
At Buff & Coat, we offer free assessments to help Richmond homeowners determine their optimal buffing schedule based on their specific floors and lifestyle needs.
Cost Comparison in Richmond, VA
When considering buffing timber floors in the Richmond area, understanding the cost landscape helps with budgeting and decision-making.
The DIY route appeals to many budget-conscious homeowners. Expect to spend about $40-$60 daily for a buffer rental from local hardware stores, plus $20-$40 for pads and screens. Quality finish runs about $40-$80 per gallon, covering approximately 500 square feet. All told, a typical room might cost $100-$180 in materials and rentals – assuming everything goes smoothly on your first attempt.
Professional services like our dust-free buff and coat service typically run $1.00-$2.50 per square foot in the Richmond area. For an average 500-square-foot space, that translates to $500-$1,250. This includes professional-grade equipment, experienced technicians, and often better-quality finishes than retail options. Additional services like furniture moving or minor repairs might add $100-$300, depending on your specific needs.
For perspective, compare these costs with full sanding and refinishing, which typically runs $3-$8 per square foot ($1,500-$4,000 for that same 500-square-foot space). The dramatic difference makes regular buffing not just a beauty treatment but a smart financial decision for maintaining your hardwood investment.
Most of our Richmond clients find professional buffing strikes the perfect balance between cost and quality, especially considering we complete most projects in a single day with minimal disruption to your home life. If you’re looking for “hardwood floor buffing near me” in Richmond or Glen Allen, we’d be happy to provide a free, no-obligation estimate for your specific floors.
Frequently Asked Questions about Buffing Timber Floors
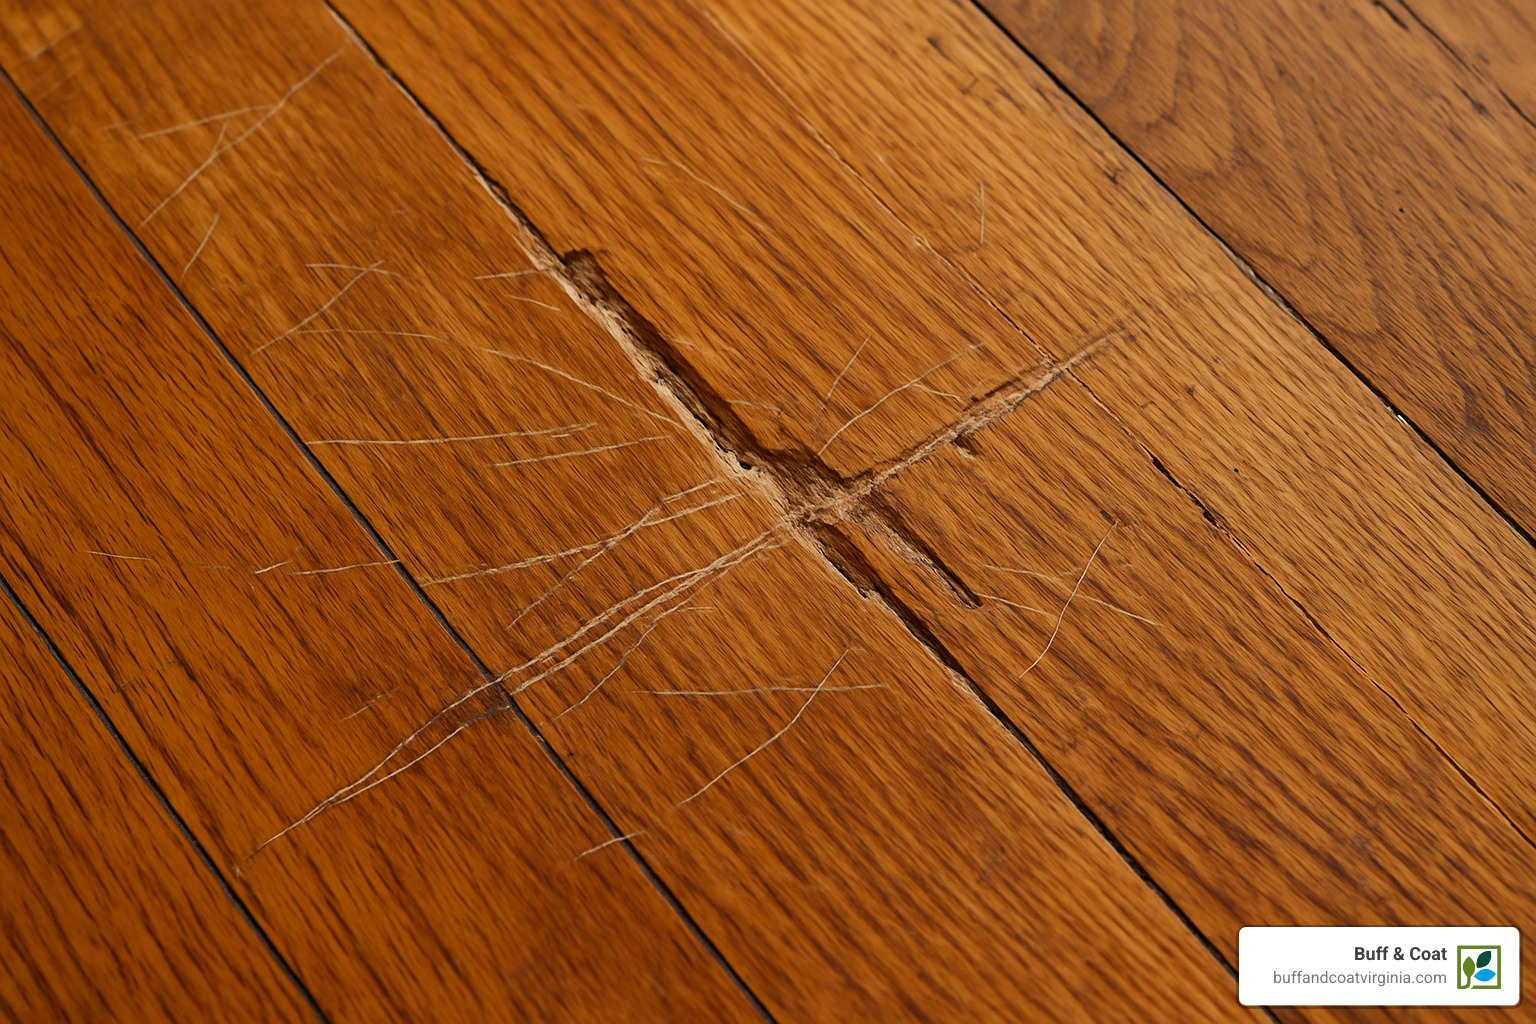
Will buffing remove all scratches?
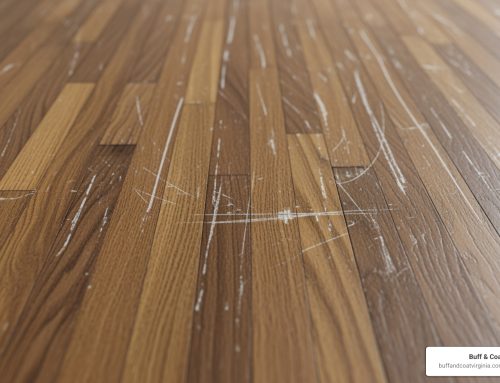
One of the most common questions we hear from Richmond homeowners is about scratch removal. The truth is, buffing timber floors works wonders for light surface scratches, but it’s not a miracle cure for deeper damage.
Think of your floor’s finish as a protective shield. When scratches only penetrate this shield, buffing can smooth them away. But here’s a simple test: run your fingernail across the scratch. If your nail catches in the groove, that scratch has likely reached the actual wood and buffing alone won’t make it disappear.
For those deeper scratches, you’ll need sanding to remove a thin layer of wood. At Buff & Coat, we often recommend a hybrid approach for floors with mixed damage – spot repairs for deeper gouges followed by a complete buff and coat to restore uniform shine across the entire floor.
How often should timber floors in busy homes be buffed?
Life happens on your floors – especially in homes with children, pets, and lots of activity. Based on our years serving Richmond families, we’ve developed some general guidelines:
Homes with constant foot traffic, active kids, and four-legged friends typically benefit from buffing timber floors every 2-3 years. For extremely high-traffic homes (think large families with multiple pets), you might want to consider buffing every 1-2 years. Meanwhile, homes with more modest activity levels can often go 3-5 years between buffing sessions.
You’ll know it’s time when you notice traffic patterns where the finish has dulled, light scratches appearing in high-use areas, or when your floors simply don’t shine like they used to despite regular cleaning.
Between professional treatments, using a quality hardwood cleaner like Bona Hardwood Floor Cleaner can help maintain your floors’ beauty. We recommend this to many of our Richmond customers because it cleans effectively without leaving residue that can dull your finish.
Can engineered wood be safely buffed?
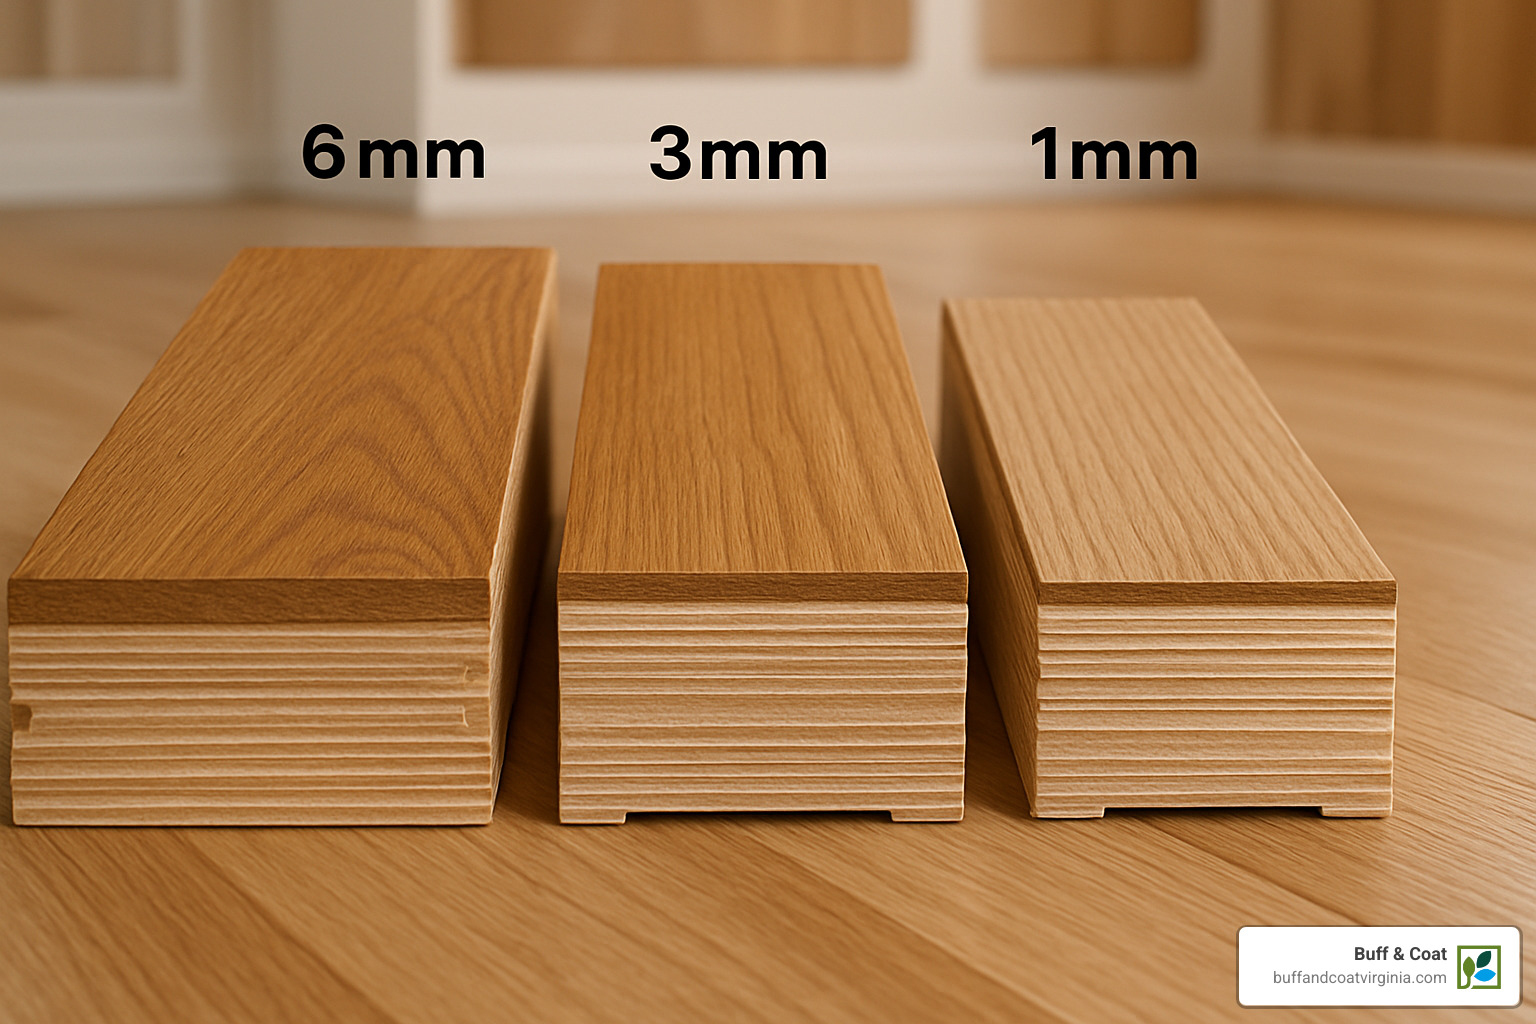
Yes! Engineered wood floors can absolutely be buffed – with some important considerations. Unlike solid hardwood, engineered floors consist of a real wood veneer on top of a manufactured base. The thickness of this top layer determines what’s possible.
Most engineered floors with a wear layer of at least 2mm can safely be buffed 2-3 times during their lifetime. If your floor has a thinner veneer, we might recommend just one very light buffing or possibly an alternative refreshing method.
Before buffing timber floors with engineered construction, our team always takes these precautions:
First, we identify your specific floor type and veneer thickness. Then we check manufacturer recommendations to ensure compatibility. We’ll also perform a small test in an inconspicuous area, like inside a closet, to confirm the floor responds well to buffing. For thinner veneers, we adjust our technique to use lighter abrasion.
At Buff & Coat, we’ve worked with virtually every type of wood flooring in Richmond homes. Our technicians are specially trained to recognize different flooring types and modify their approach accordingly, ensuring your engineered floors get the care they deserve.
Conclusion
Buffing timber floors isn’t just a maintenance task—it’s an investment in your home’s beauty and value. Throughout this guide, we’ve explored how this process strikes the perfect balance between routine cleaning and complete refinishing, addressing wear and tear before more extensive treatments become necessary.
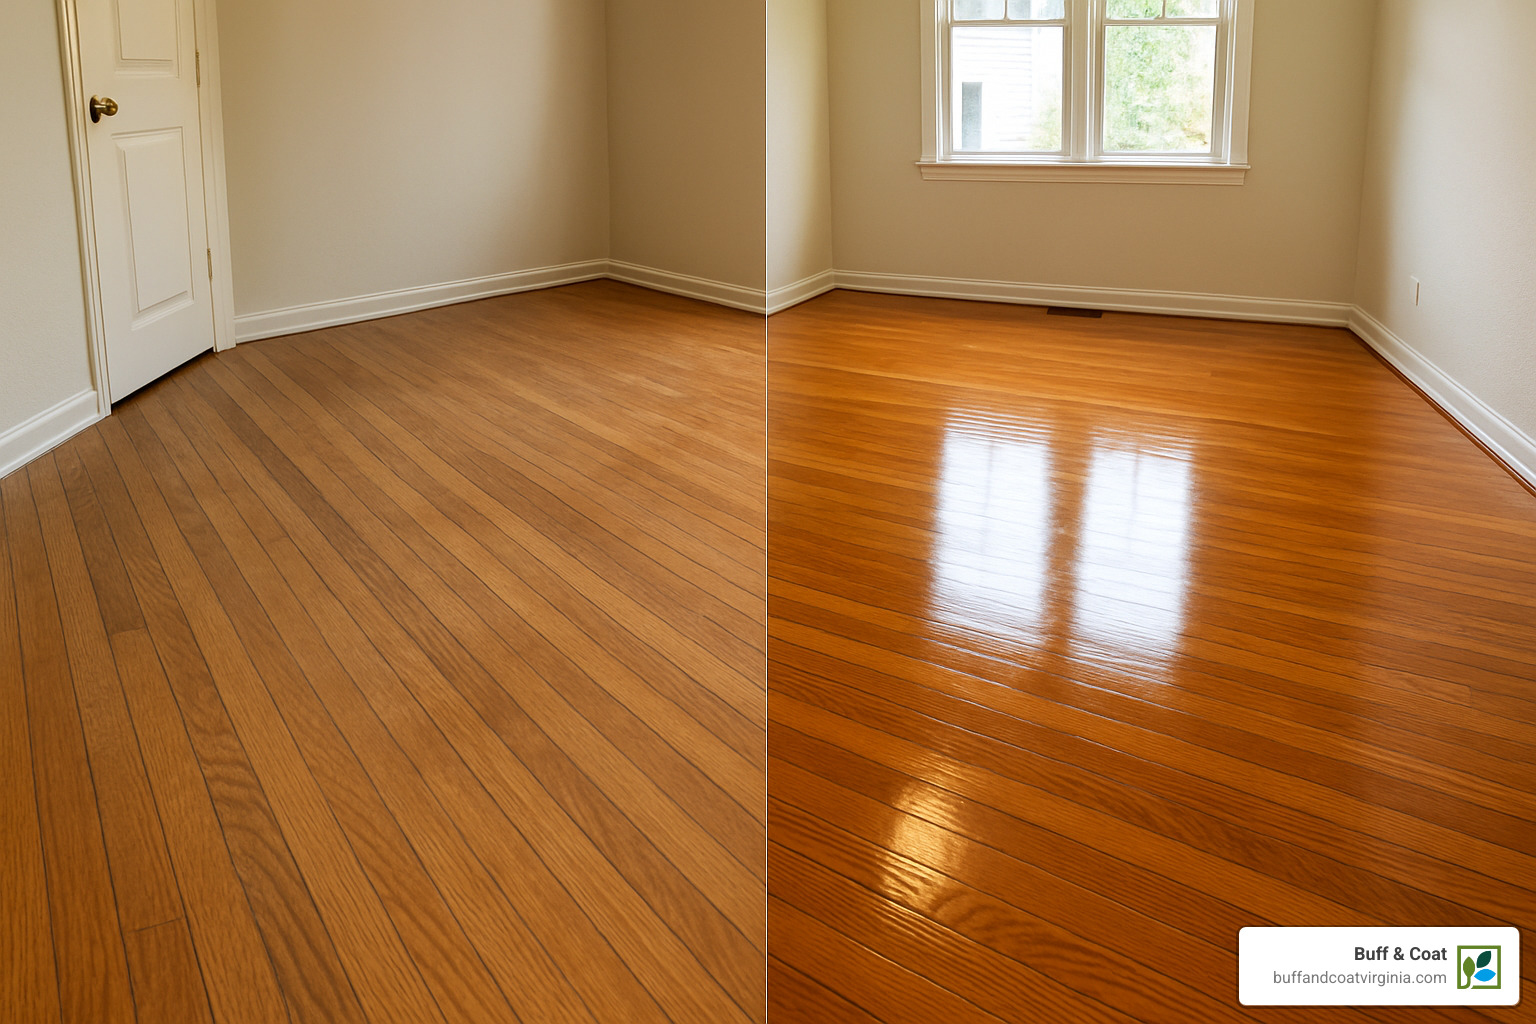
When done right, a professional buff and coat breathes new life into tired hardwood. Those light scratches that catch the evening light? Gone. The dull patches in high-traffic areas? Transformed to a uniform, warm glow. The protective layer that shields your valuable wood from daily life? Completely restored.
For Richmond and Glen Allen homeowners, your hardwood floors represent both a significant financial investment and a central design element that defines your home’s character. Regular buffing timber floors is one of the smartest, most cost-effective ways to protect that investment while maintaining the warmth and beauty that only real wood provides.
While the DIY route is certainly possible (and we’ve outlined how), there’s something to be said for professional expertise. At Buff & Coat, our specialized knowledge allows us to properly assess your floor’s unique condition, use commercial-grade equipment and finishes, and employ dust-free techniques that won’t leave your home in disarray. Most importantly, we deliver consistent, high-quality results that stand the test of time—all while saving you the weekend of hard labor.
We take genuine pride in being Richmond’s hardwood floor specialists. Our team has brought thousands of tired floors back to life throughout Richmond, Glen Allen, and surrounding communities. There’s something truly satisfying about revealing the hidden beauty in a floor that’s been dulled by years of family life, without subjecting homeowners to the noise, mess, and expense of complete sanding.
Ready to fall in love with your floors again? We’d be happy to tell you more about our complete range of hardwood floor services or explain the details of our specialized buff and coat process.
Every Richmond-area home deserves beautiful, long-lasting hardwood floors. We offer free, no-obligation estimates to all local homeowners—just contact us today to schedule your appointment. Your floors (and your future self) will thank you.